
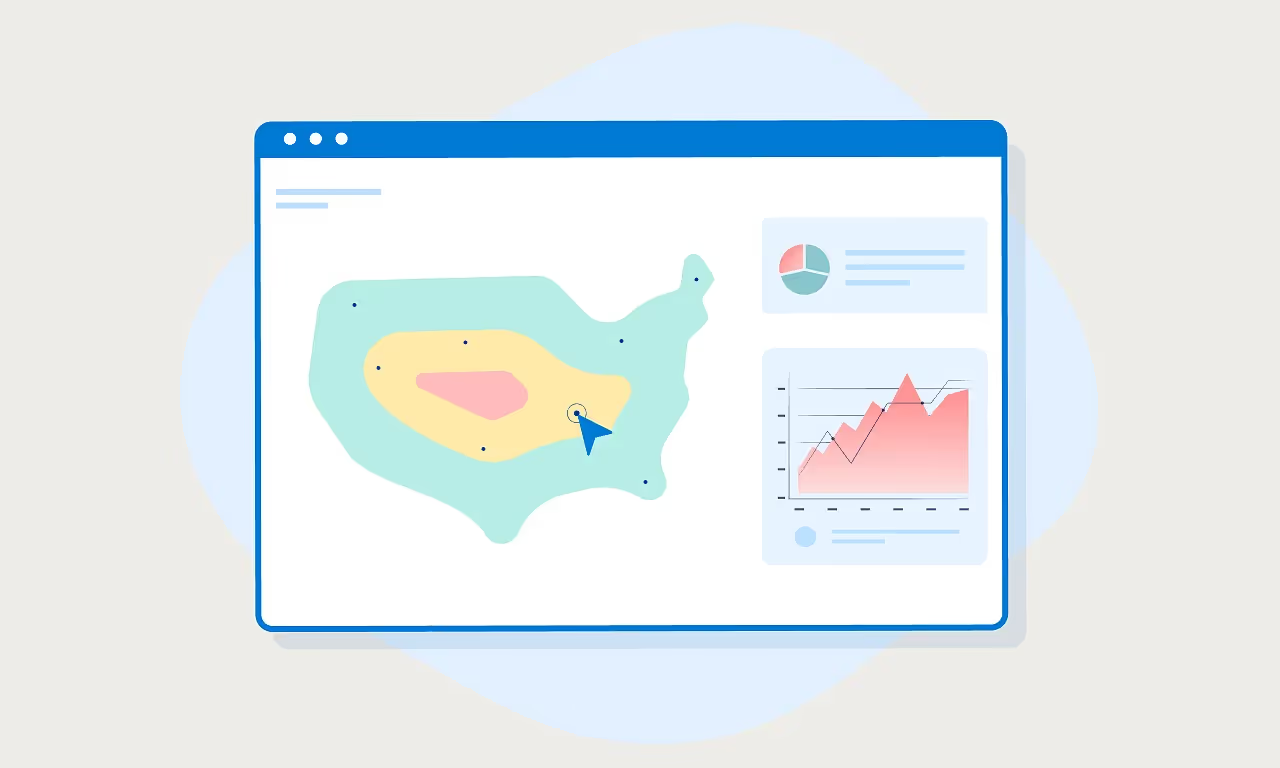
A quick how-to for adding free heatmaps and session recordings to your site with Google Tag Manager and Microsoft Clarity, the free alternative to Hotjar.
Okay, let's kick things off by saying that to follow along you need Google Tag Manager installed and a Microsoft Clarity account. If you don't have Tag Manager, you can check out this post on how to install Tag Manager on Webflow, our platform of choice. Milk Moon Studio is a Webflow studio first and Webflow designers like things low-code and clean, so even if you're a Webflow expert but don't use it, try Tag Manager. It'll keep your project nice and clean, with only the Tag Manager script in your <head>, making script management very easy.
To keep your site nice and fast, we'd also suggest using our deferred tag how-to on the Microsoft Clarity tag we're going to be creating in Tag Manager.
As an aside, if you want to get really technical, Hotjar is a great solution for the problem we're trying to solve. You can view recordings around certain flows and conversion events, etc., which will require a teensy bit of coding (not to mention things like quick surveys). But for folks who just need to see what their users are doing and spot some pain points on their site, Clarity is great and free. You get all the usual heat maps and session recordings at no cost, and it's super easy to surface issues like dead clicks and rage clicking. It even links with your Google Analytics account to give more accurate data. When we wrote this, that meant a Universal Analytics (UA) account, and we linked to our UA setup guide. UA has since been switched off, so use our guide to adding Google Analytics 4 with Zaraz instead. The original UA guide is still there for the record: for help on setting up UA in Tag Manager check out this post.
Update, 2026: Clarity is still free. Microsoft's FAQ says "Clarity is a free service forever. You never encounter traffic limits or are compelled to upgrade to a paid version." It also now supports Google Analytics 4, and it has an official Tag Manager template, which we cover in Step 2. Clarity also needs valid consent from visitors in consent-required jurisdictions to use its full feature set, including session recordings. We look at what that does to your data in the cookie consent dilemma.
Step 1: Create a Microsoft Clarity project
Once you've signed up for Clarity, head to My Projects and hit Add new project.

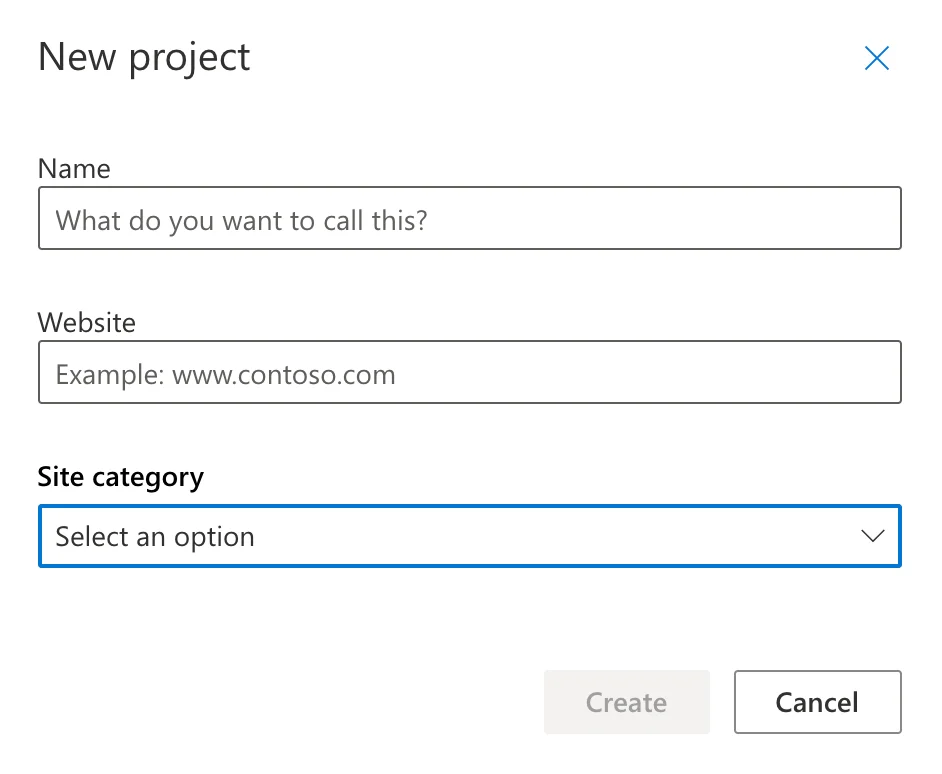
Give your project a name, stick in your URL and select a category, then hit Create.
Now connect to your Google Analytics for more accurate insights.
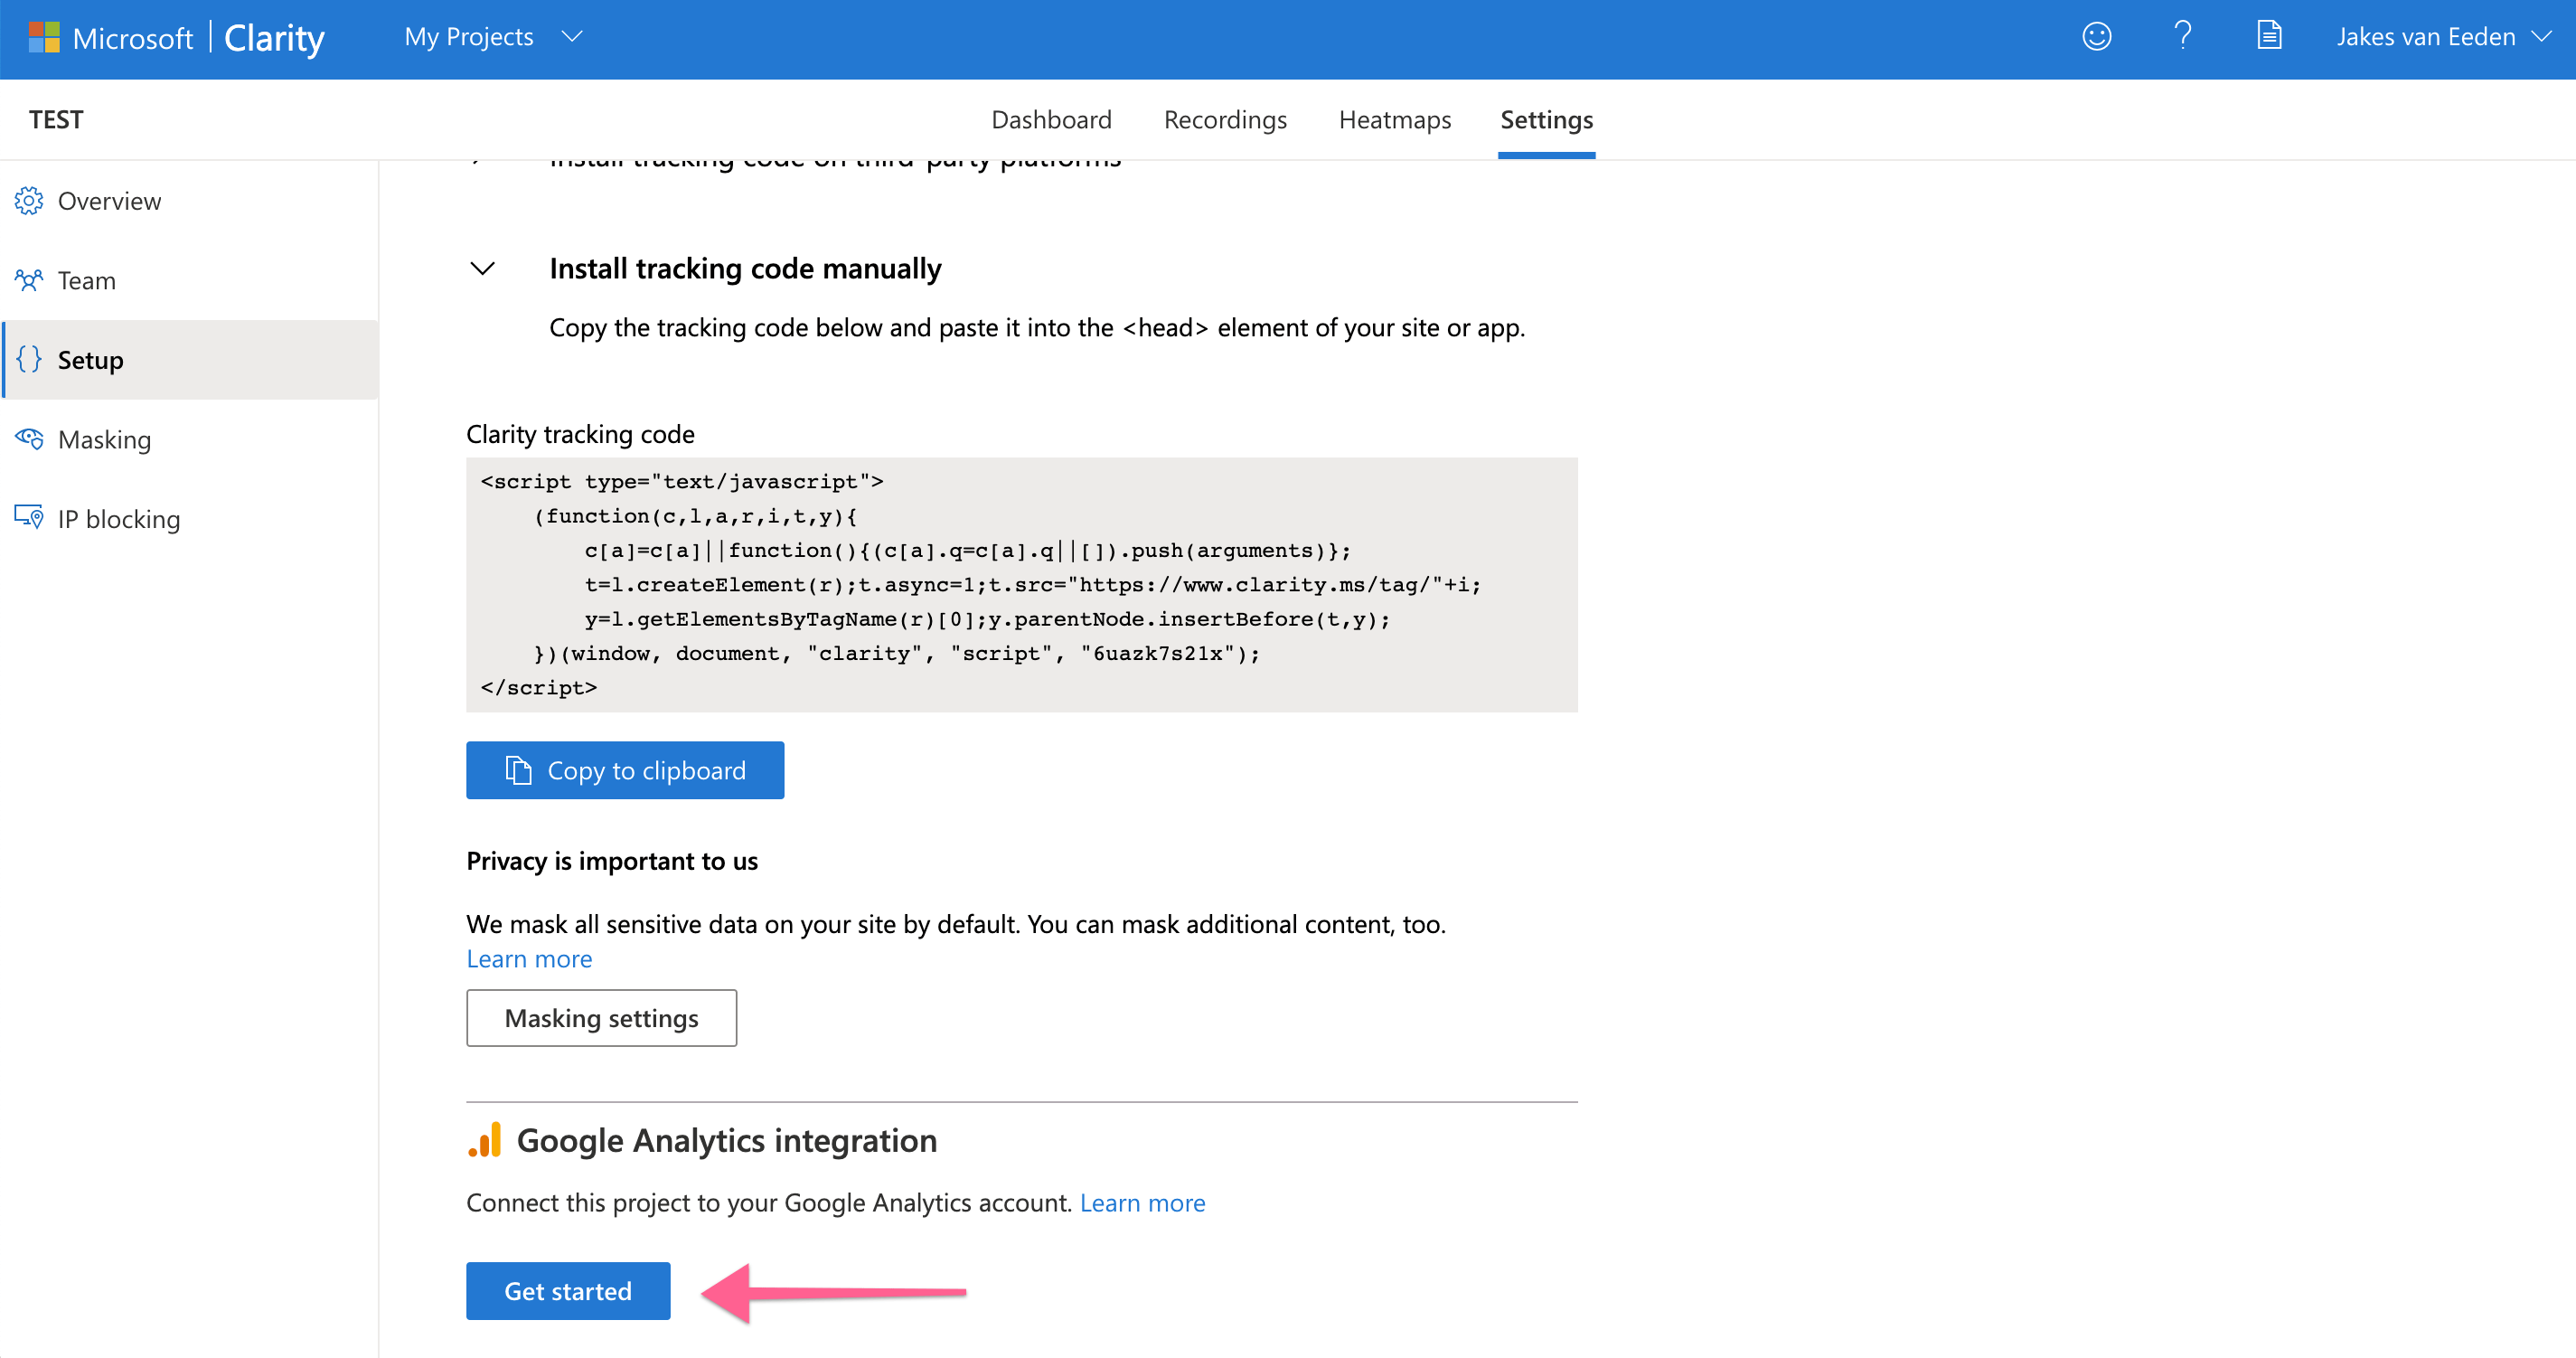
Hit Get Started and then select the Google account you use for GA.
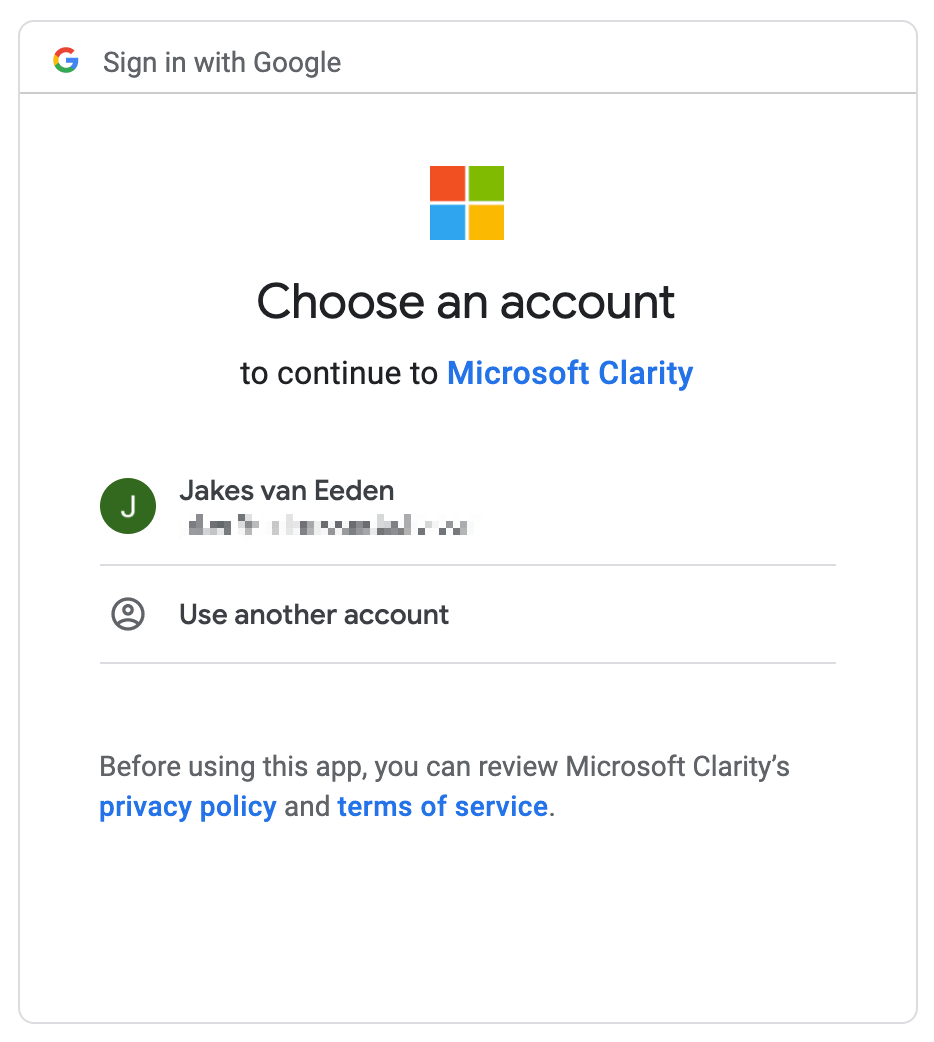
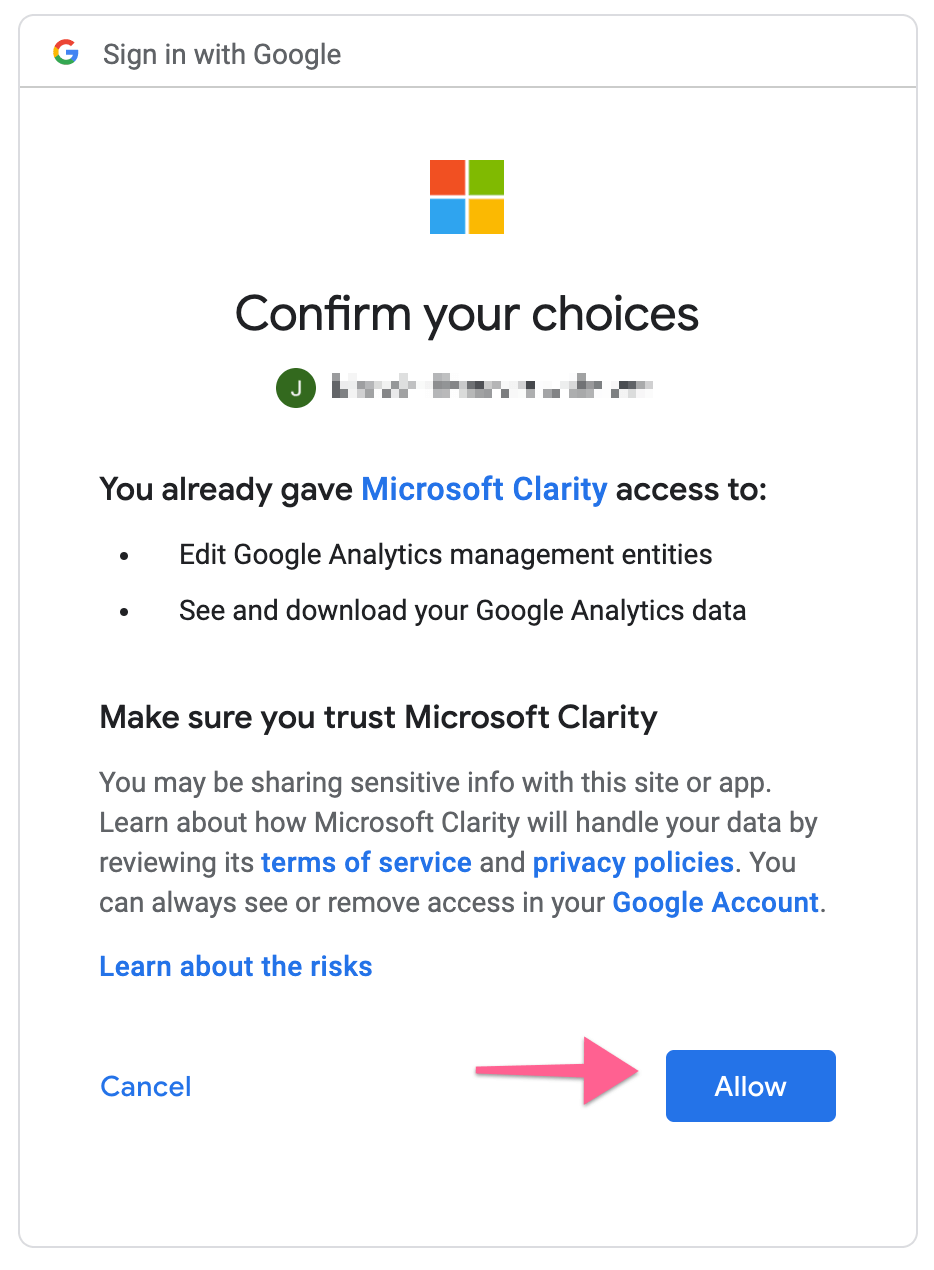
Give Clarity access.
Now select the Analytics account you want to link to. At this stage Microsoft Clarity only supported Google Analytics UA accounts and not GA4. You can find help on setting that up and adding it to Tag Manager in this post.
Update, 2026: UA stopped processing data on 1 July 2023 (Google: "All standard Universal Analytics properties will stop processing new hits on July 1, 2023"), so the screenshots above show the old flow. Clarity supports GA4, but you connect it by entering your GA4 Account ID, Measurement ID and Property ID rather than picking an account from a list. Clarity does not send the playback URL to GA4 and does not support GA segments in GA4 (source: Microsoft Learn, Google Analytics 4 integration with Clarity). Our GA4 events how-to pairs well with Clarity recordings.
Step 2: Install the tag
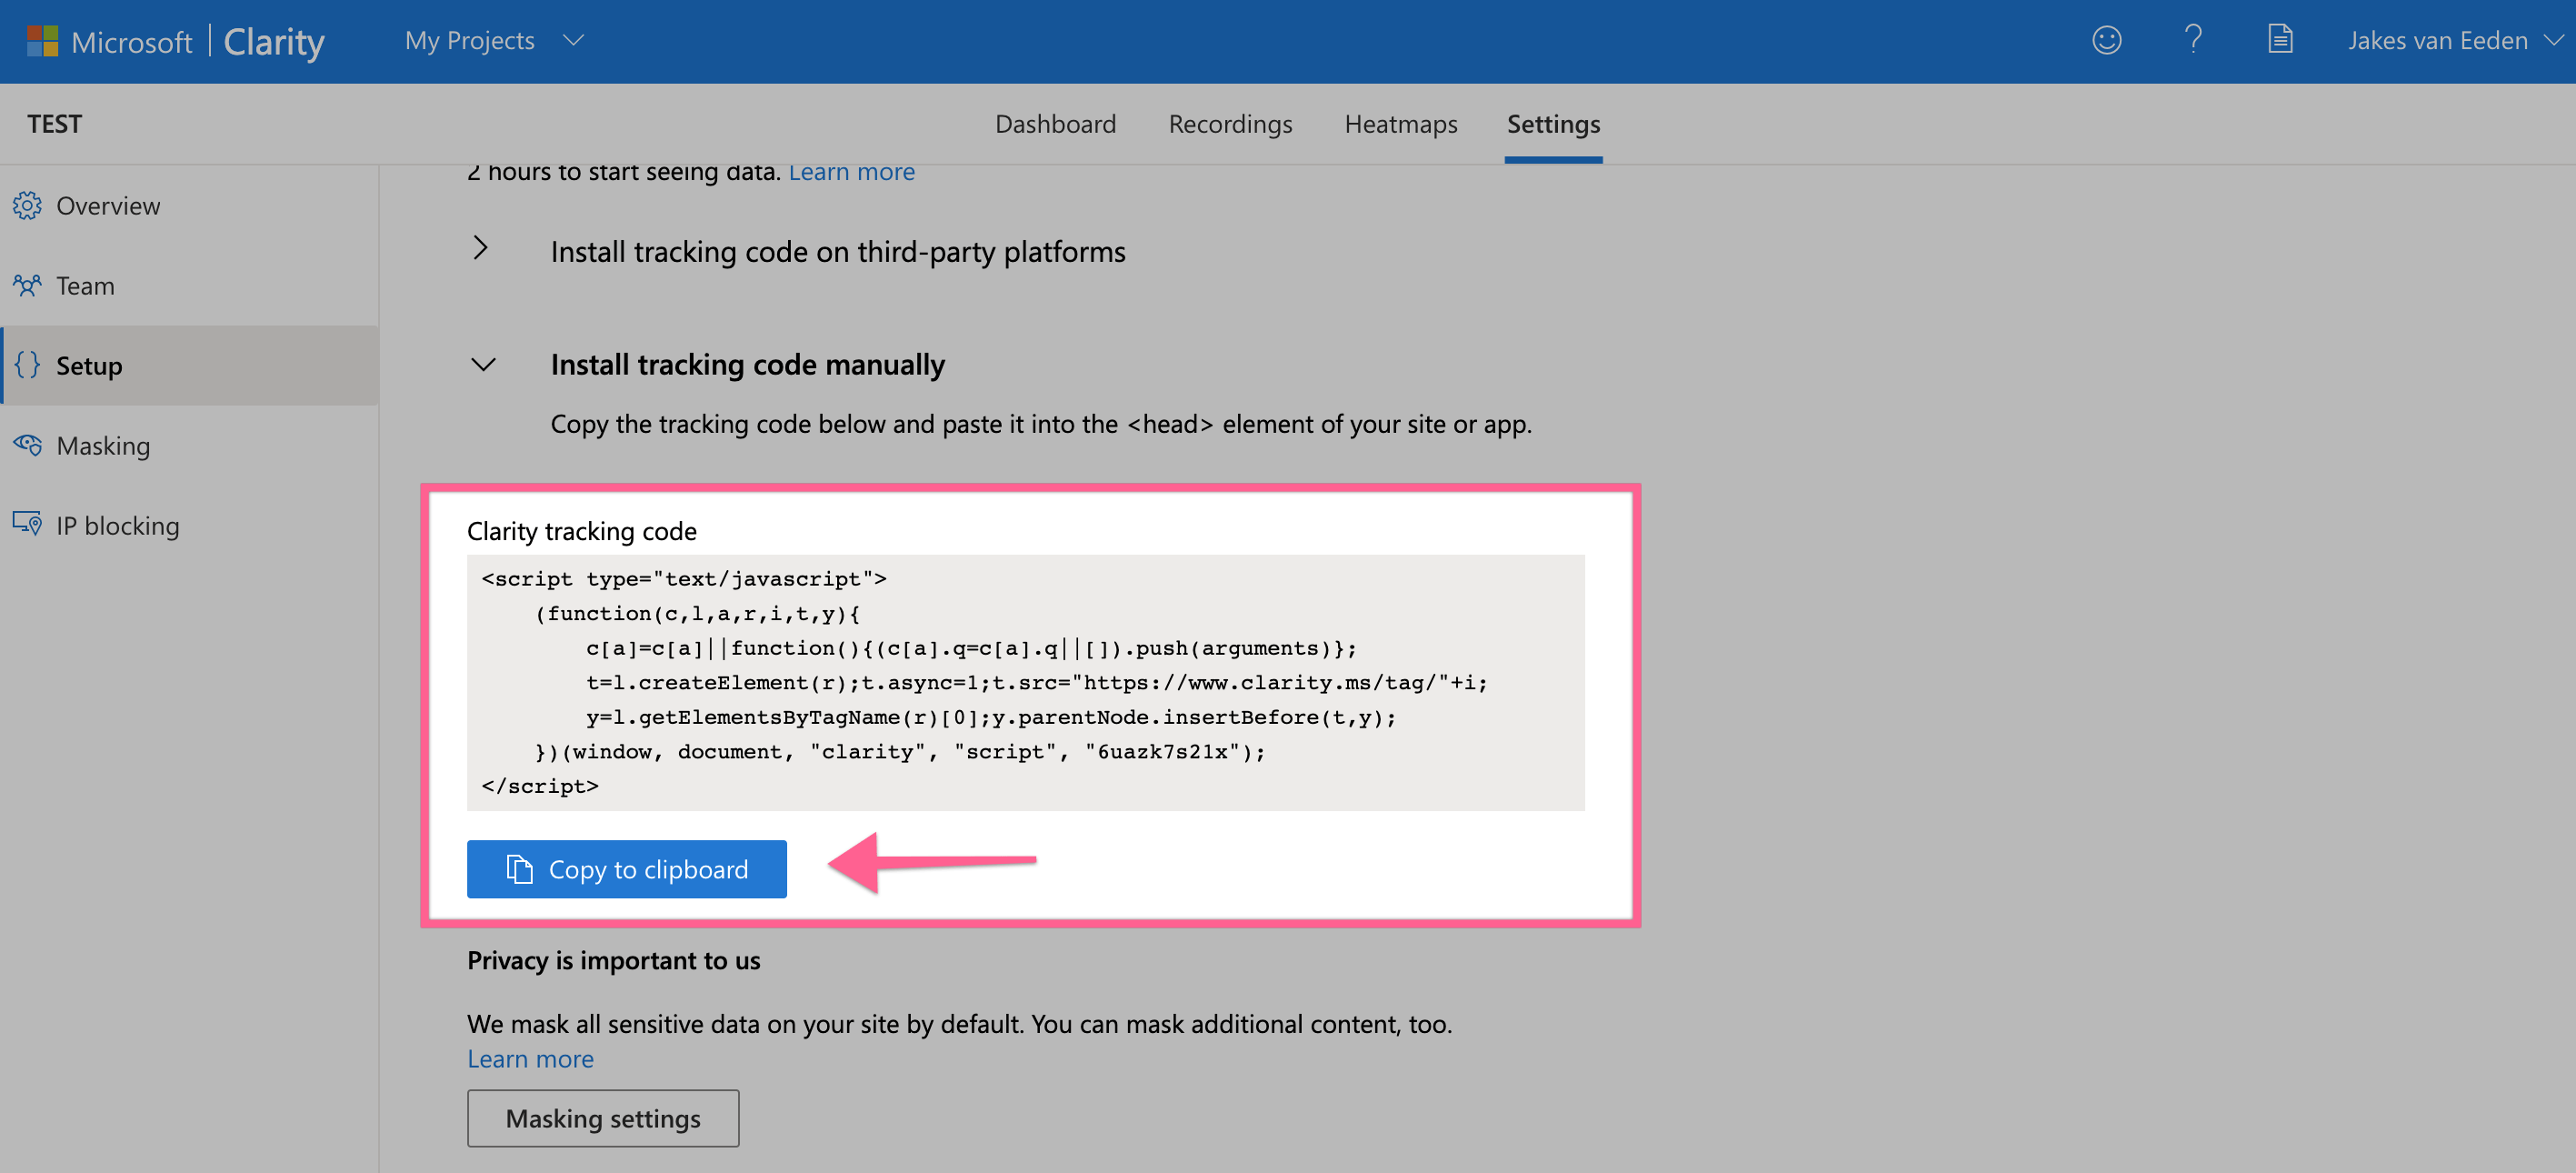
Copy the code snippet.
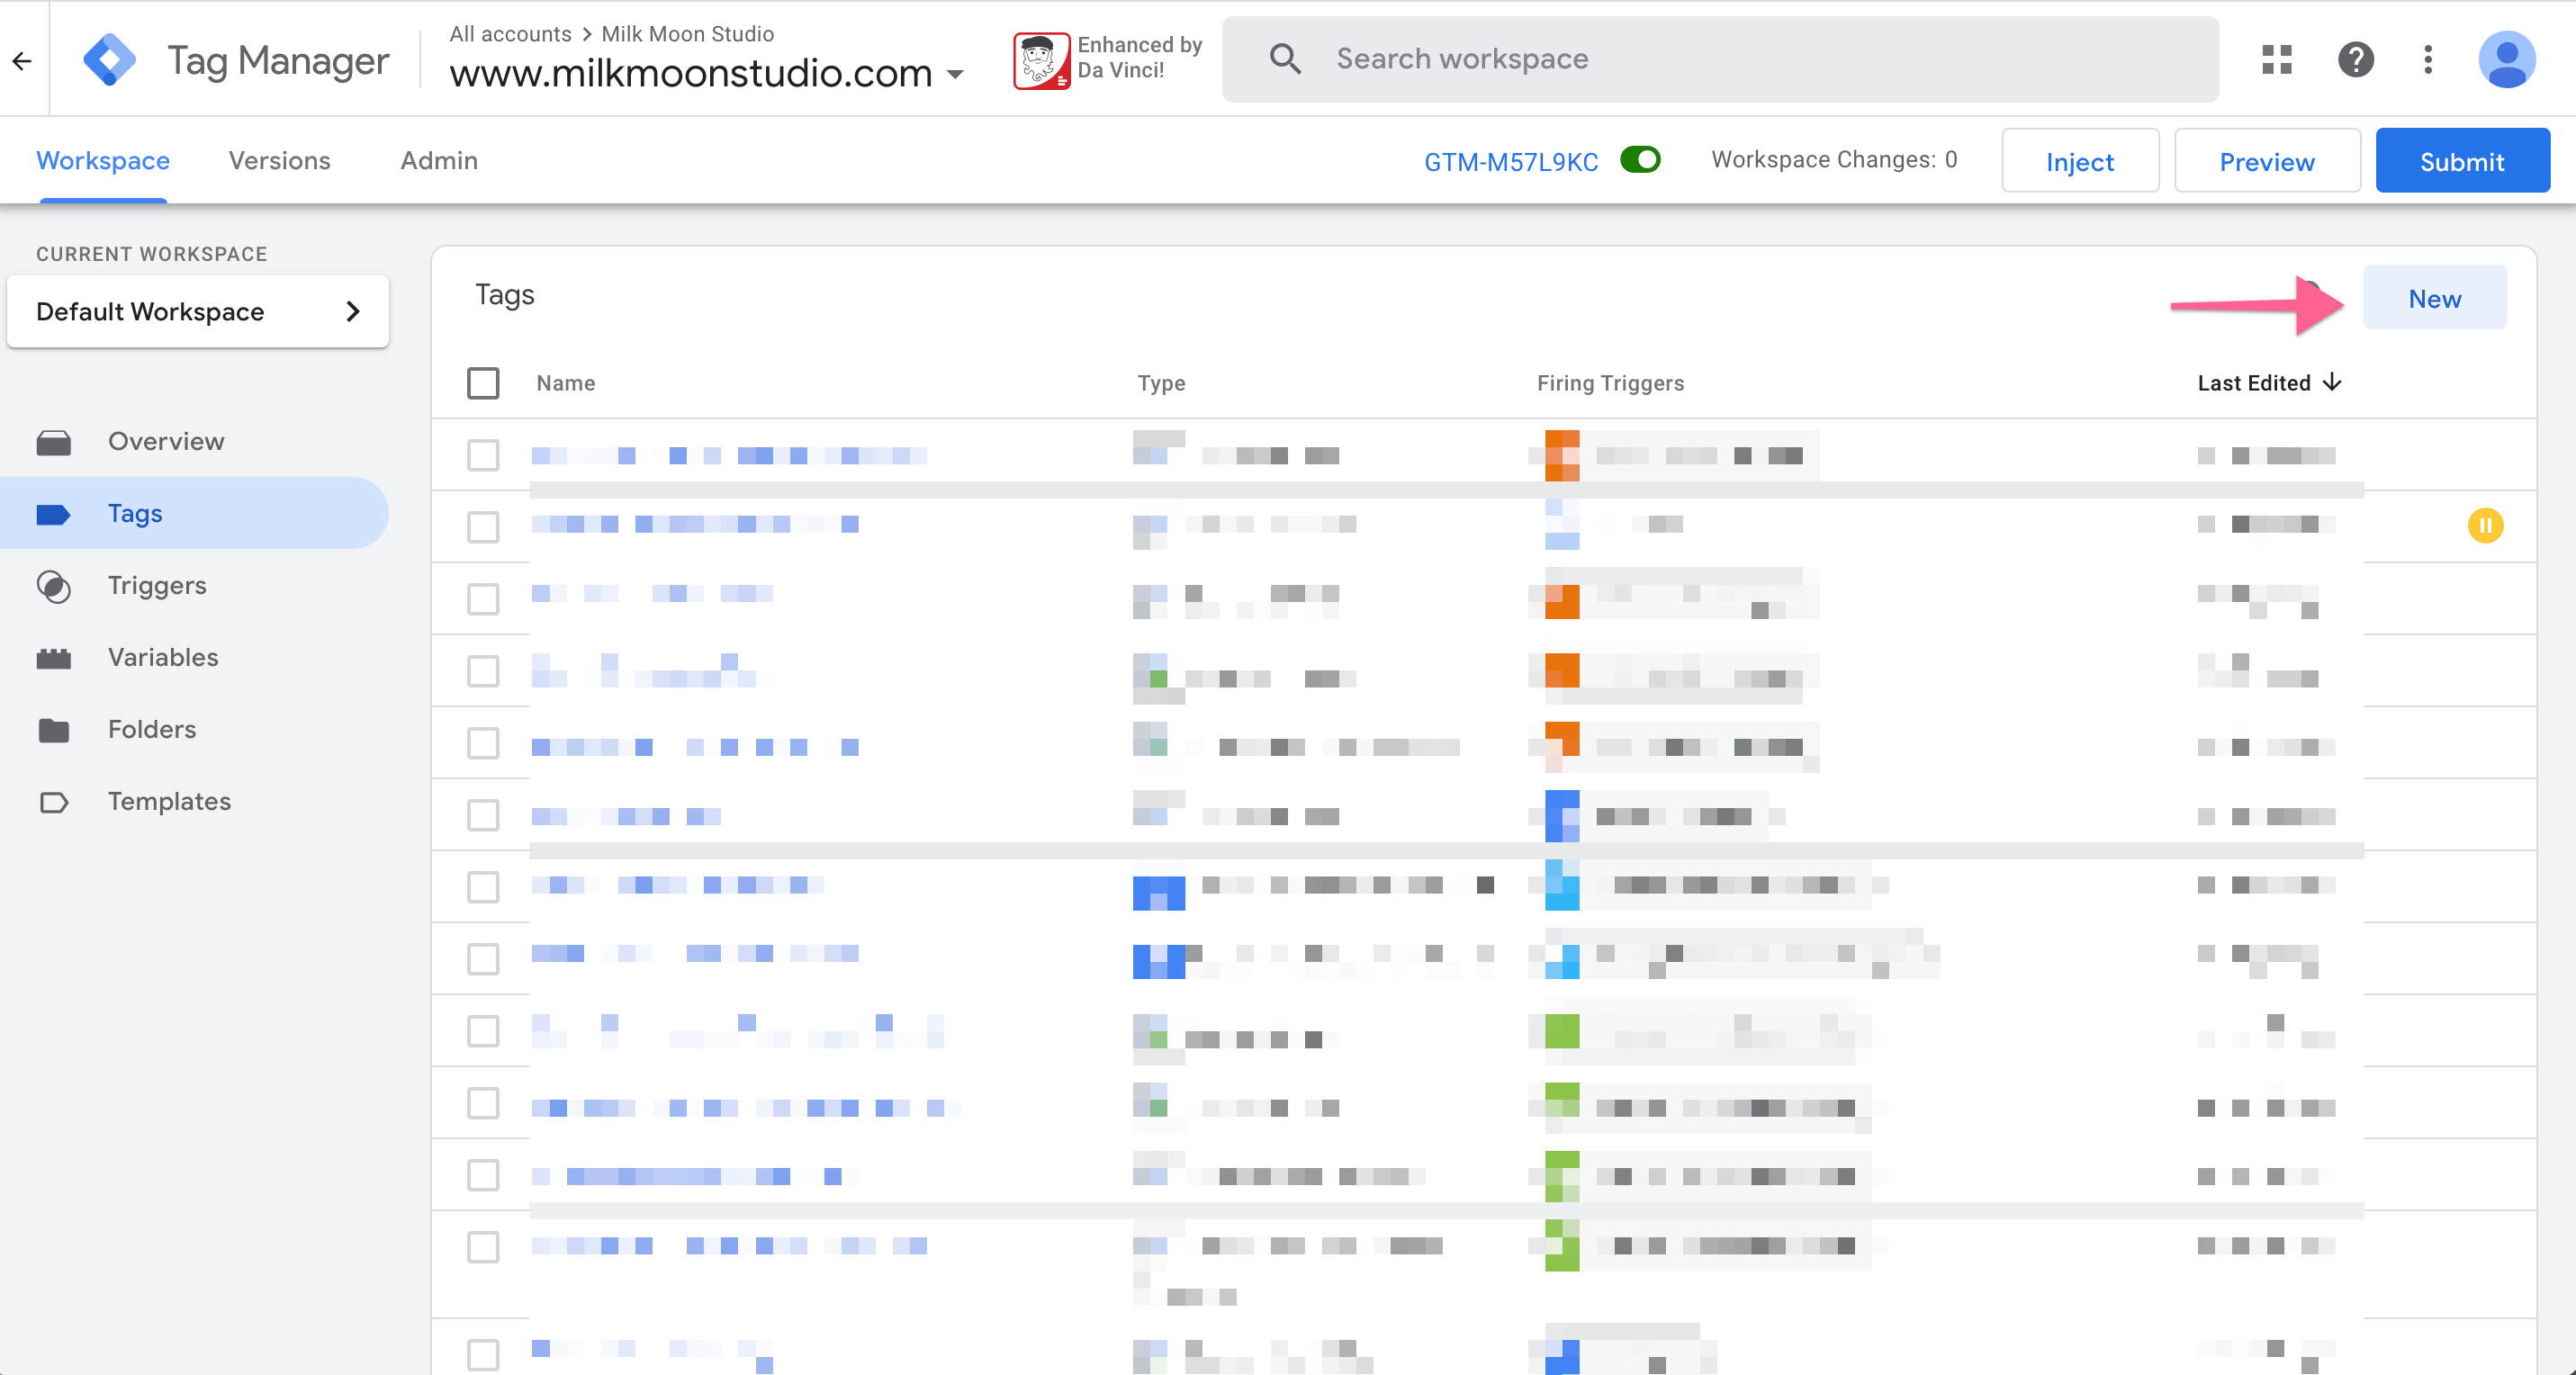
Head to Tag Manager and create a new tag.
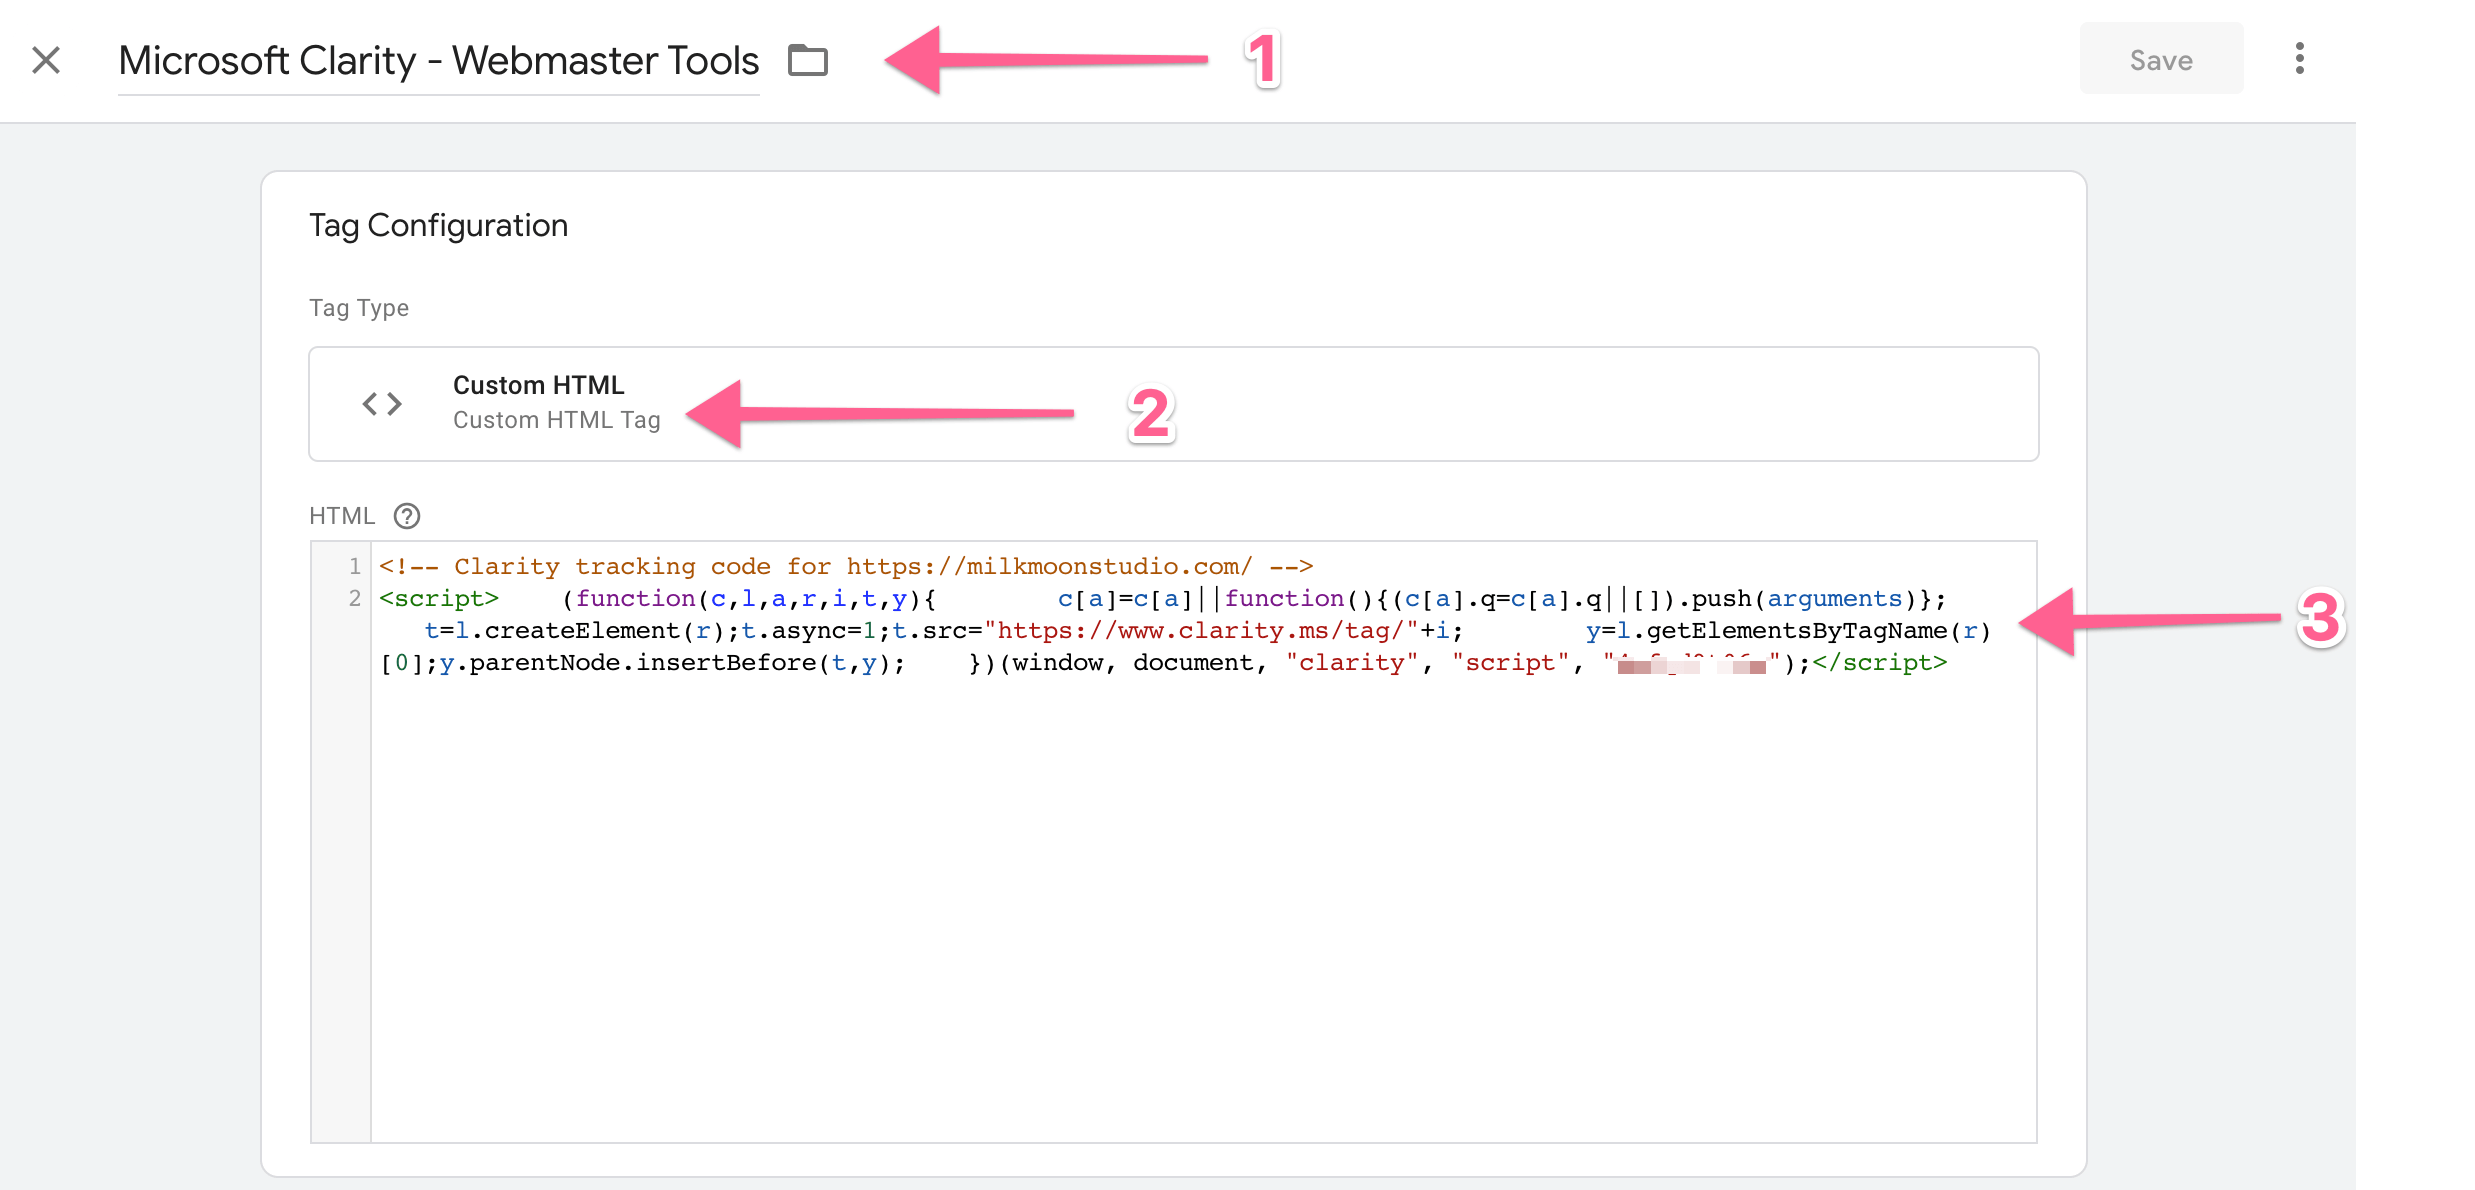
Now, give the tag a name, select Custom HTML as the tag type and paste in the snippet.
For the trigger you can just select All Pages, but we're going to use our Fully Loaded trigger. This is the delayed trigger we set up in this post. You're perfectly fine with the All Pages trigger. The delayed trigger just gives everything on the page time to load first, for a slightly better PageSpeed experience, making Google a teensy bit happier.
Update, 2026: Microsoft now recommends a simpler route than pasting the snippet. In Clarity, go to Settings, then Setup, then Google Tag Manager, and select Finish setup. Sign in, pick your GTM account and container, and select Create and publish. Or, in Tag Manager, choose Discover more tags in the Community Template Library, search for Clarity and add the official Microsoft Clarity template, then enter your Clarity project ID. Custom HTML, as shown here, still works. Source: Microsoft Learn, How to install Clarity on Google Tag Manager. Whichever route you take, the Clarity tag can still use the delayed trigger above.
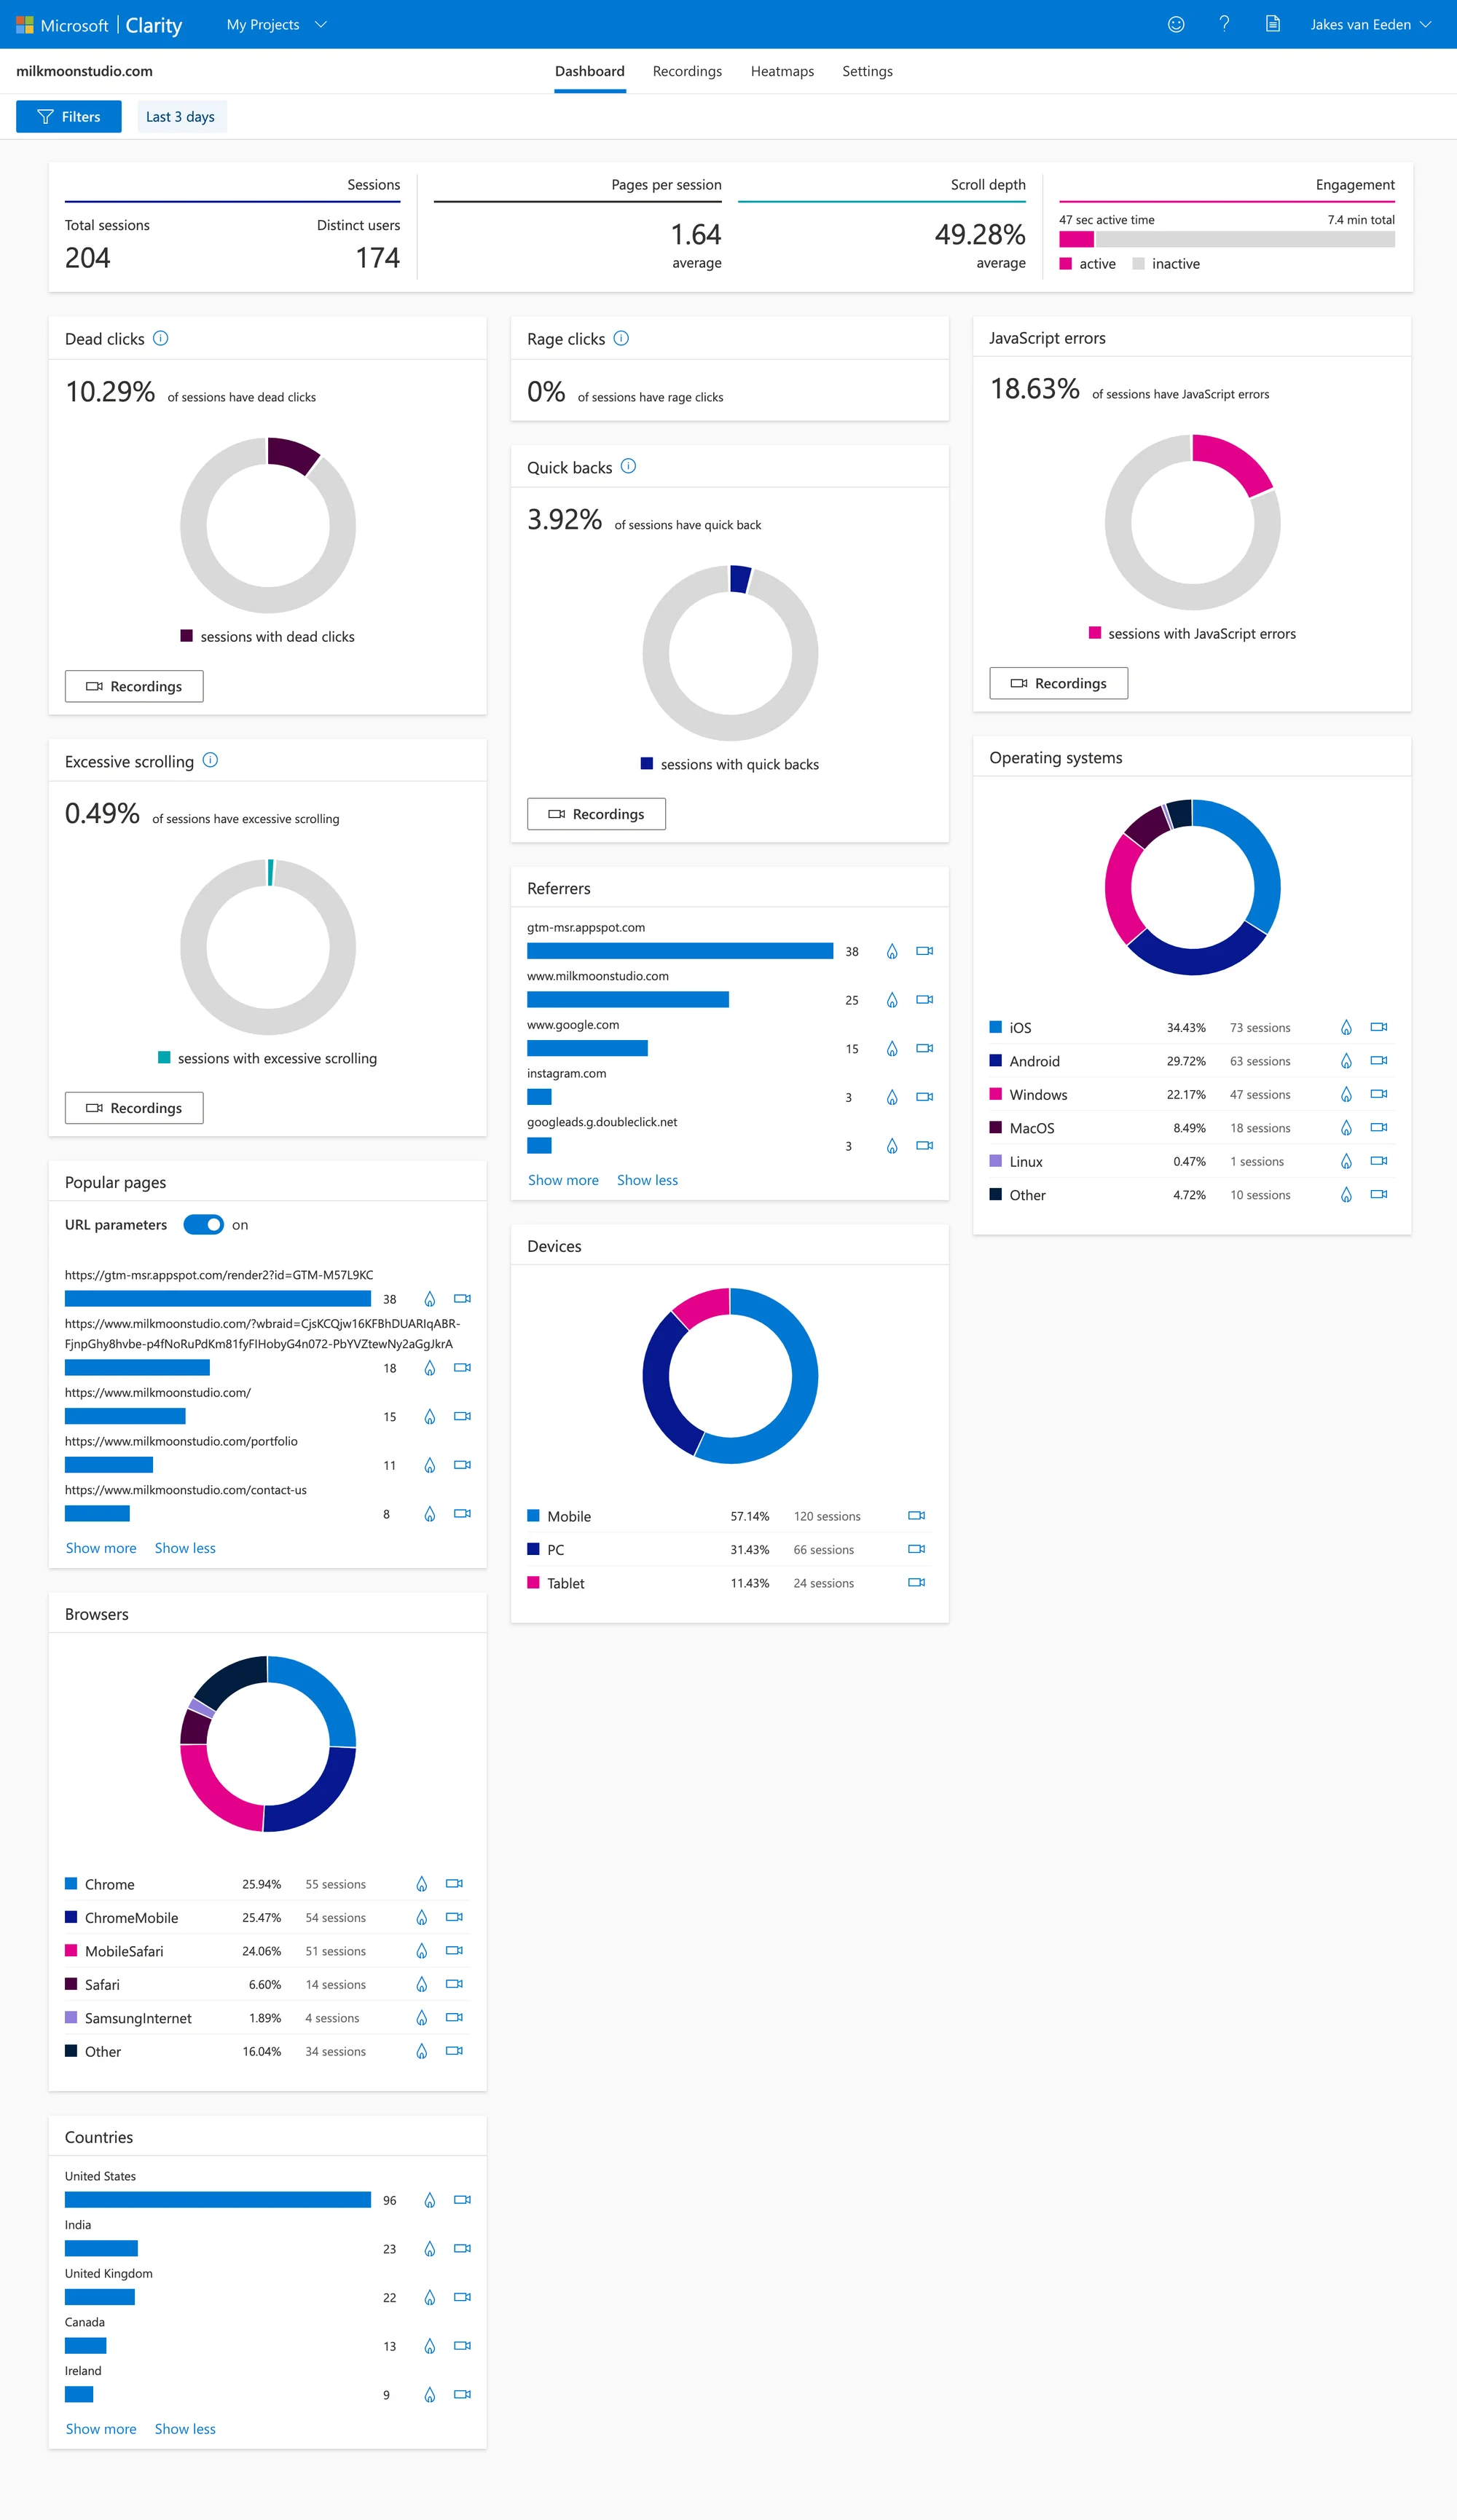
Now Submit and Publish and you're done. Results will show in a few hours and you should have something like this:
Questions about setting up behavioural analytics? Hit us up in the comments and you can always find more how-tos here.
Frequently asked questions
Is Microsoft Clarity really free?
Yes. Microsoft's Clarity FAQ says it is "a free service forever", with no traffic limits and no paid upgrade. You get heat maps, session recordings and insights such as dead clicks and rage clicks at no cost.
How do I install Clarity with Google Tag Manager?
Create a Clarity project, then either connect it from Clarity's Settings, Setup, Google Tag Manager page, add the official Microsoft Clarity template in Tag Manager, or paste the tracking code into a Custom HTML tag as shown above. Set the trigger to All Pages, or to a delayed trigger, then submit and publish.
Does Microsoft Clarity work with GA4?
Yes. When we wrote this post, Clarity only linked to Universal Analytics, which has since been switched off. Clarity now connects to GA4, using your GA4 Account ID, Measurement ID and Property ID. Microsoft notes it does not send the recording playback URL to GA4.