In this post, we'll be looking at quickly adding social share buttons to your blog posts that will pull in your OG Tags when you share to social.
For this post you're going to need Google Tag Manager installed on your site or Webflow Project. You can find the how-to for Webflow here. You're also going to need a ShareThis account that you can set up for free here. We're going to set this up for our Webflow Project's Blog posts, but this can be for any page on your site or product pages for Ecommerce and it isn't restricted to Webflow, as long as you have Tag Manager installed you're golden. We'll also do a more in depth post on installing share buttons using dynamic CMS collection fields for Webflow and native social share snippets at a later stage, but this is pretty quick and painless so enjoy.
Step 1 - Set up ShareThis and Tag Manager
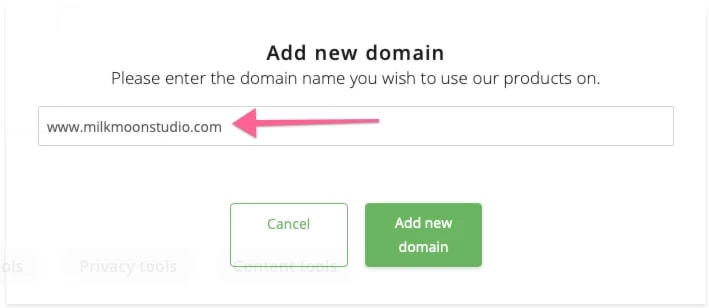
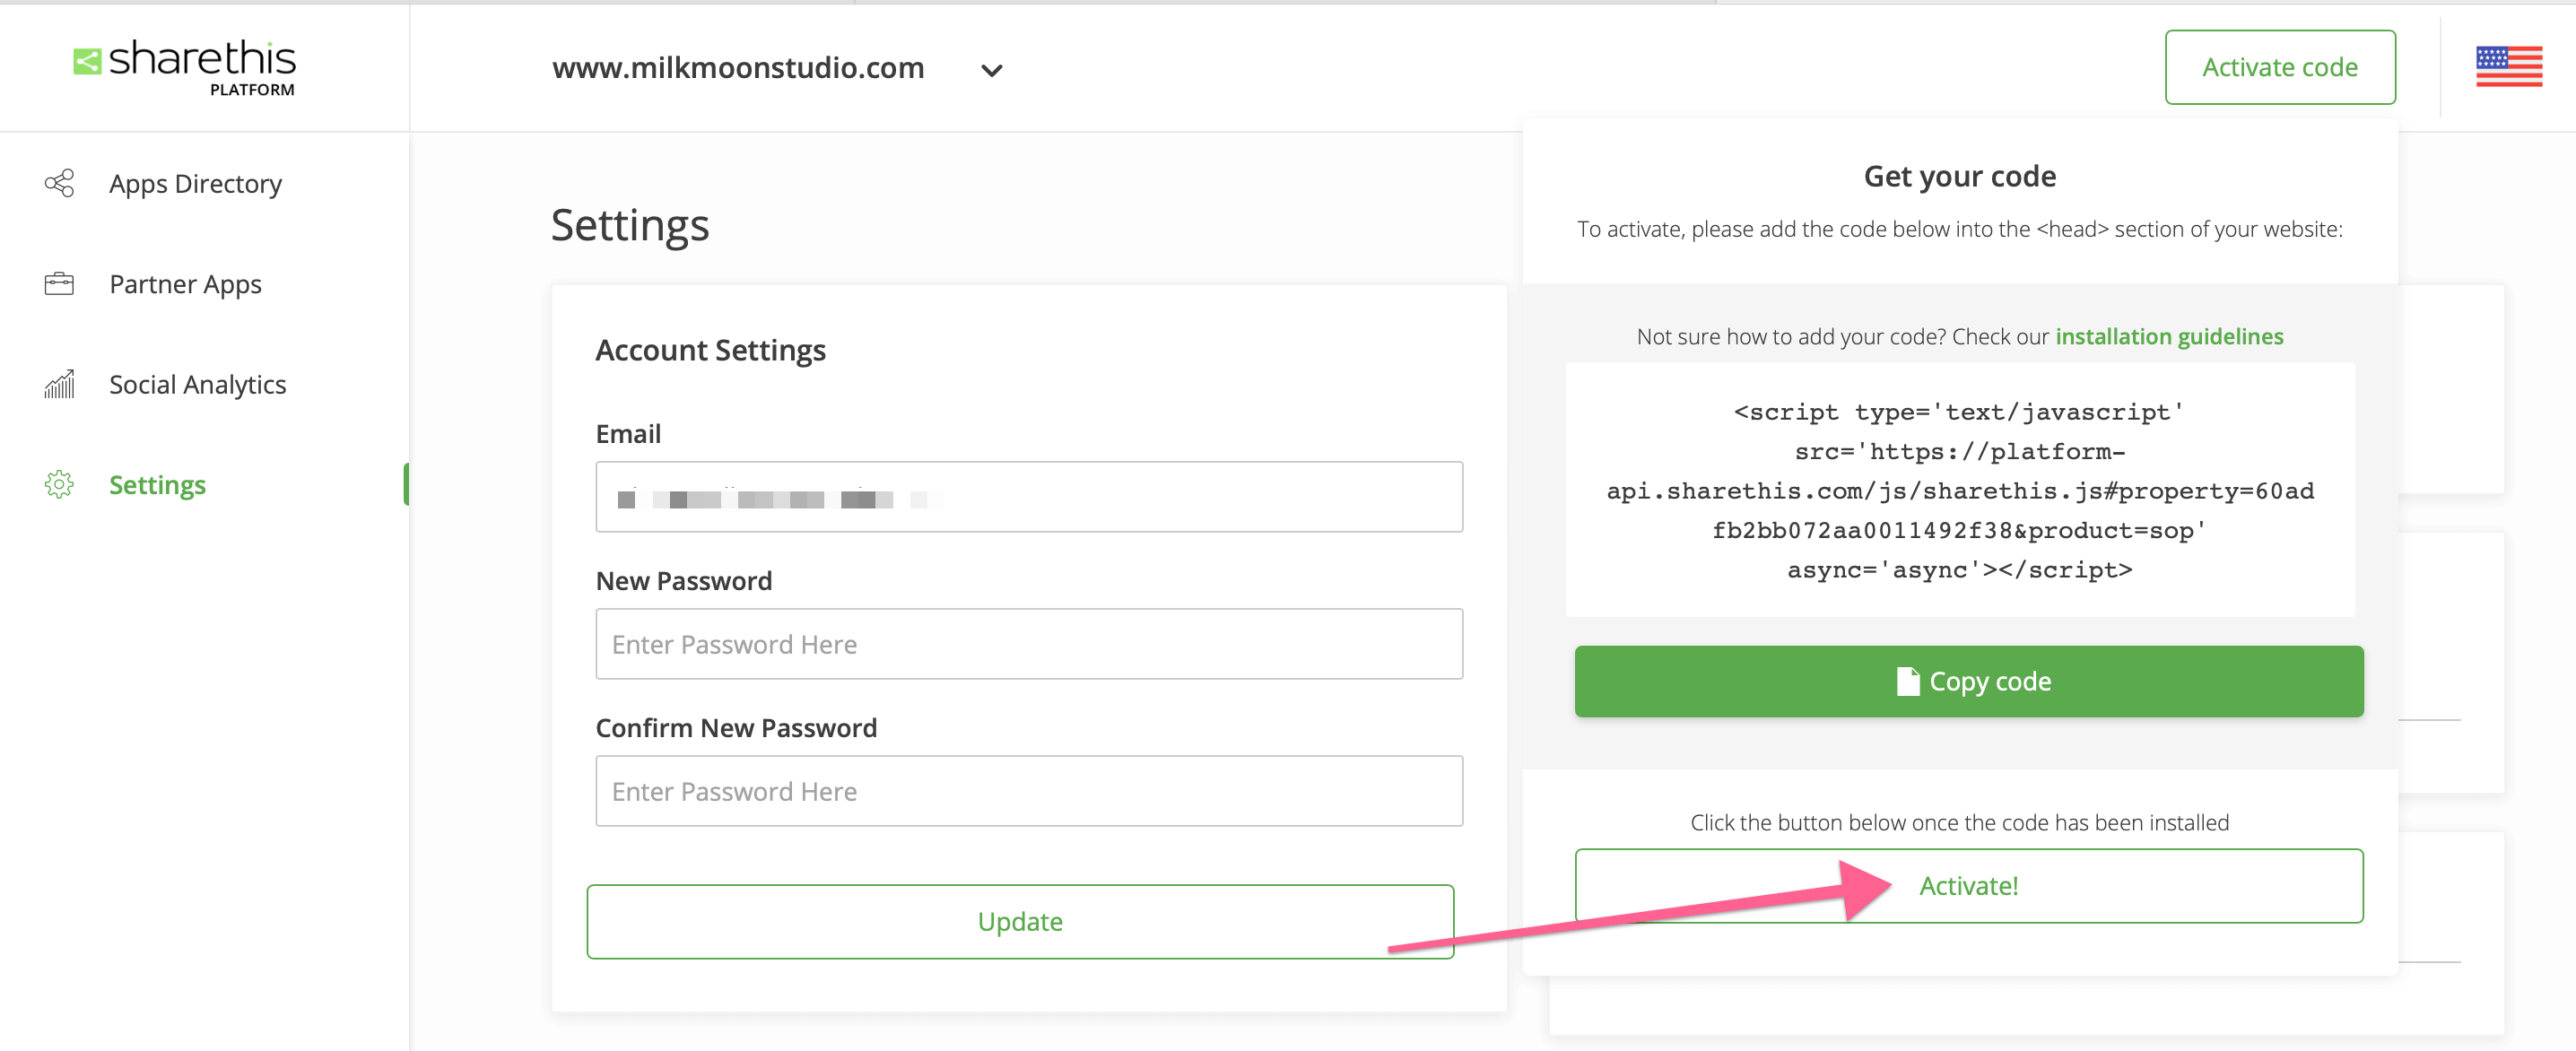
Start by adding the domain you'll be using.
Hit Activate Code and copy the snippet.
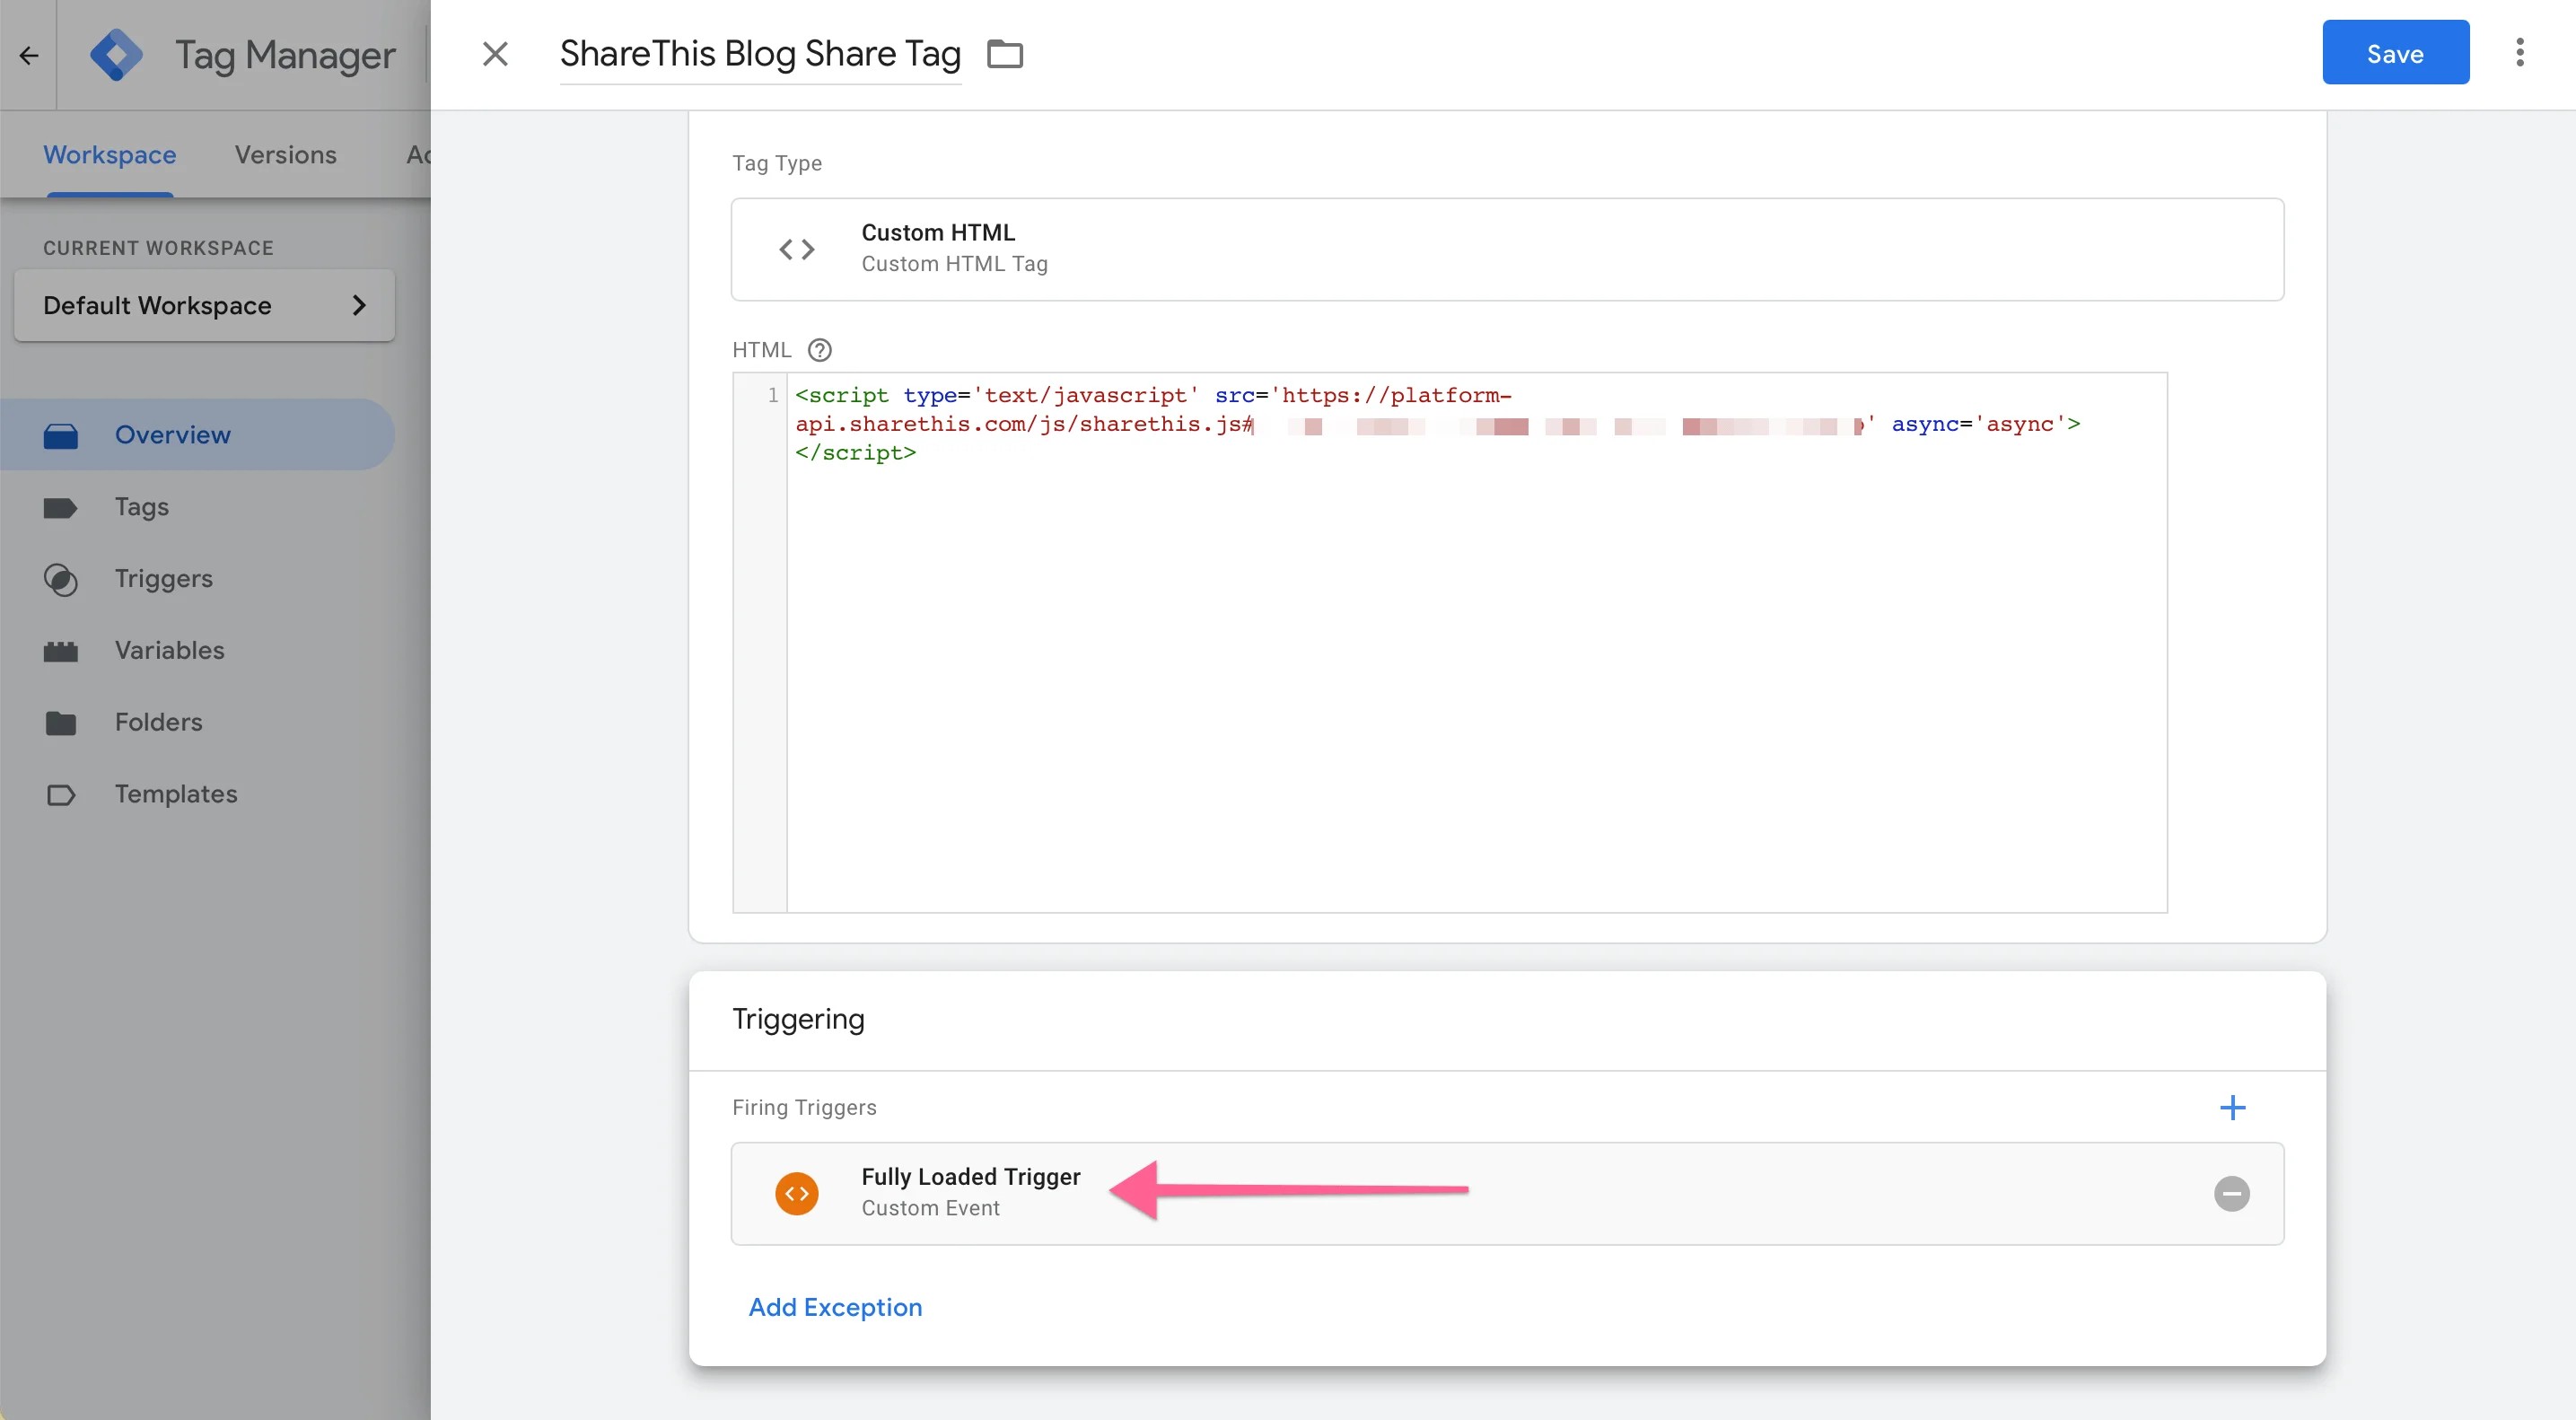
Head you for Tag Manager Container and create and new Tag. Give the Tag an name, select Custom HTML and paste in the Snippet.
Tag Manager
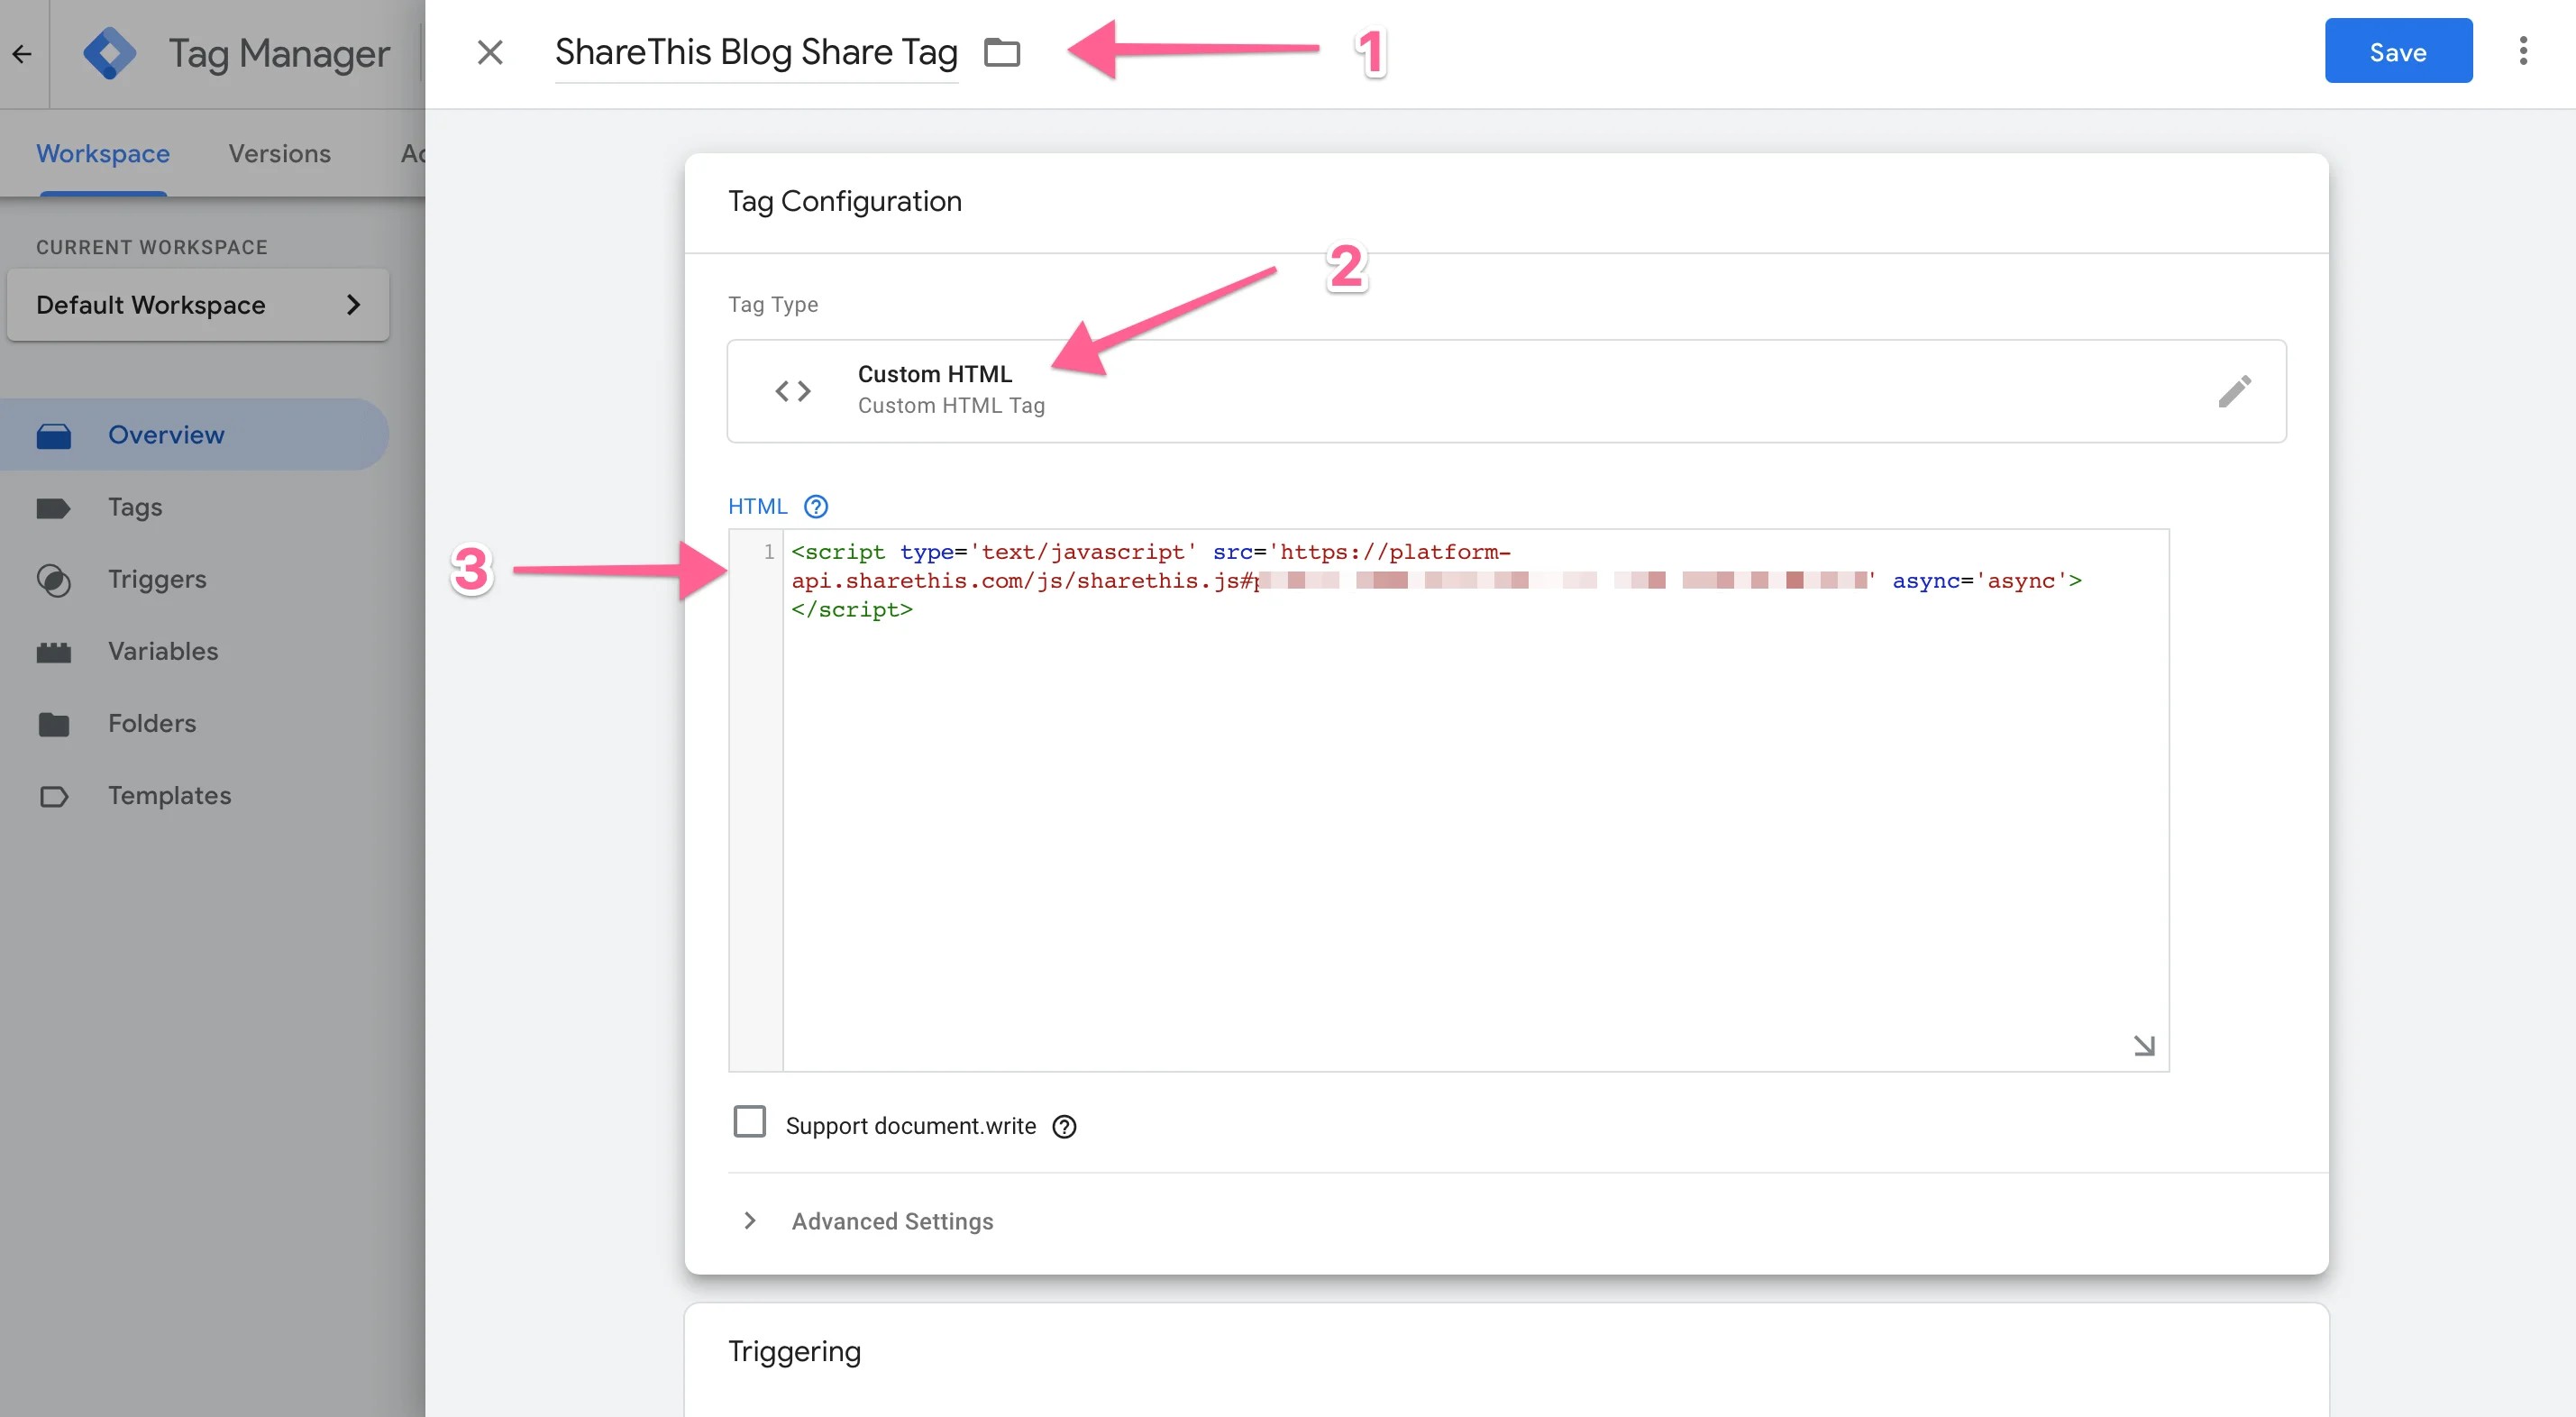
For the Trigger, select All Pages, we're going with the Fully Loaded Trigger. That will fire the Tag after everything has loaded on the page giving a better user experience and speeding up your PageSpeed results for Google. You find a post on how to set that up here if you'd like to go down that route, but All Pages is fine if you're not worried about that.
Now, Save the Tag, hit Submit and Publish the Container.
Go back to ShareThis and hit Activate.
If you get a warning about the code not being in the head, ignore that and continue.
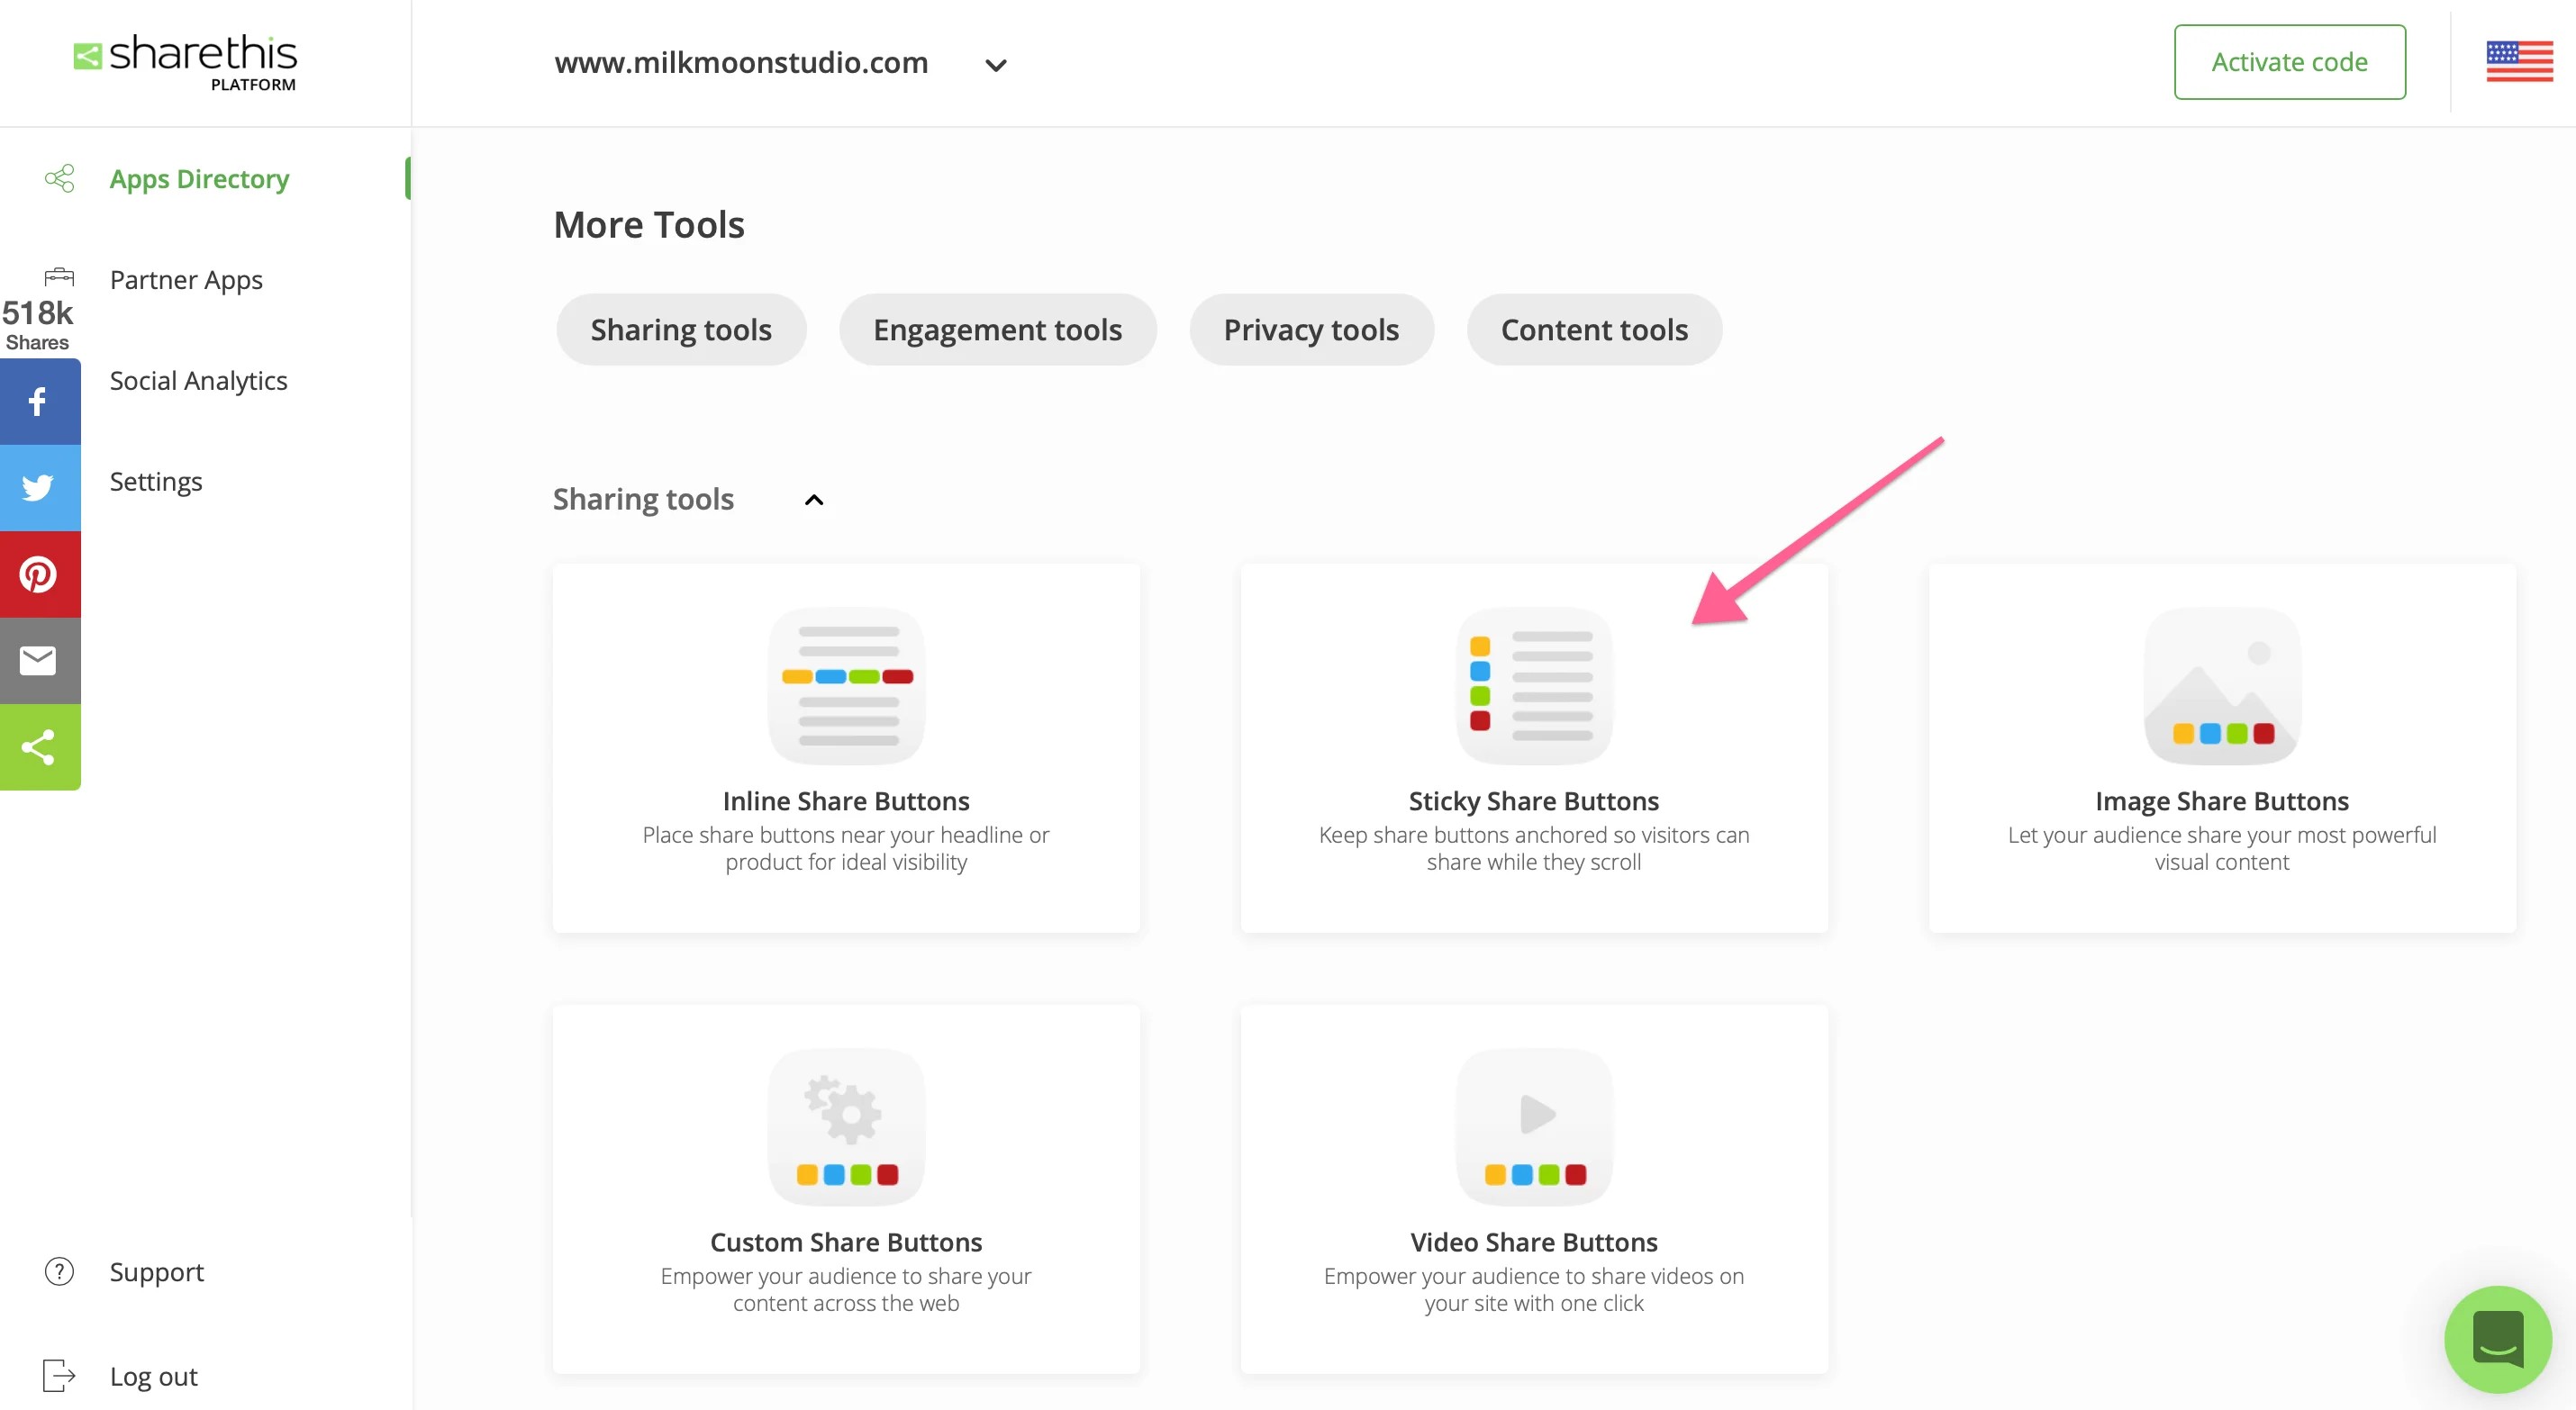
Go to the Apps Directory.
We're going to be adding Sticky Share buttons, but you can choose whatever.
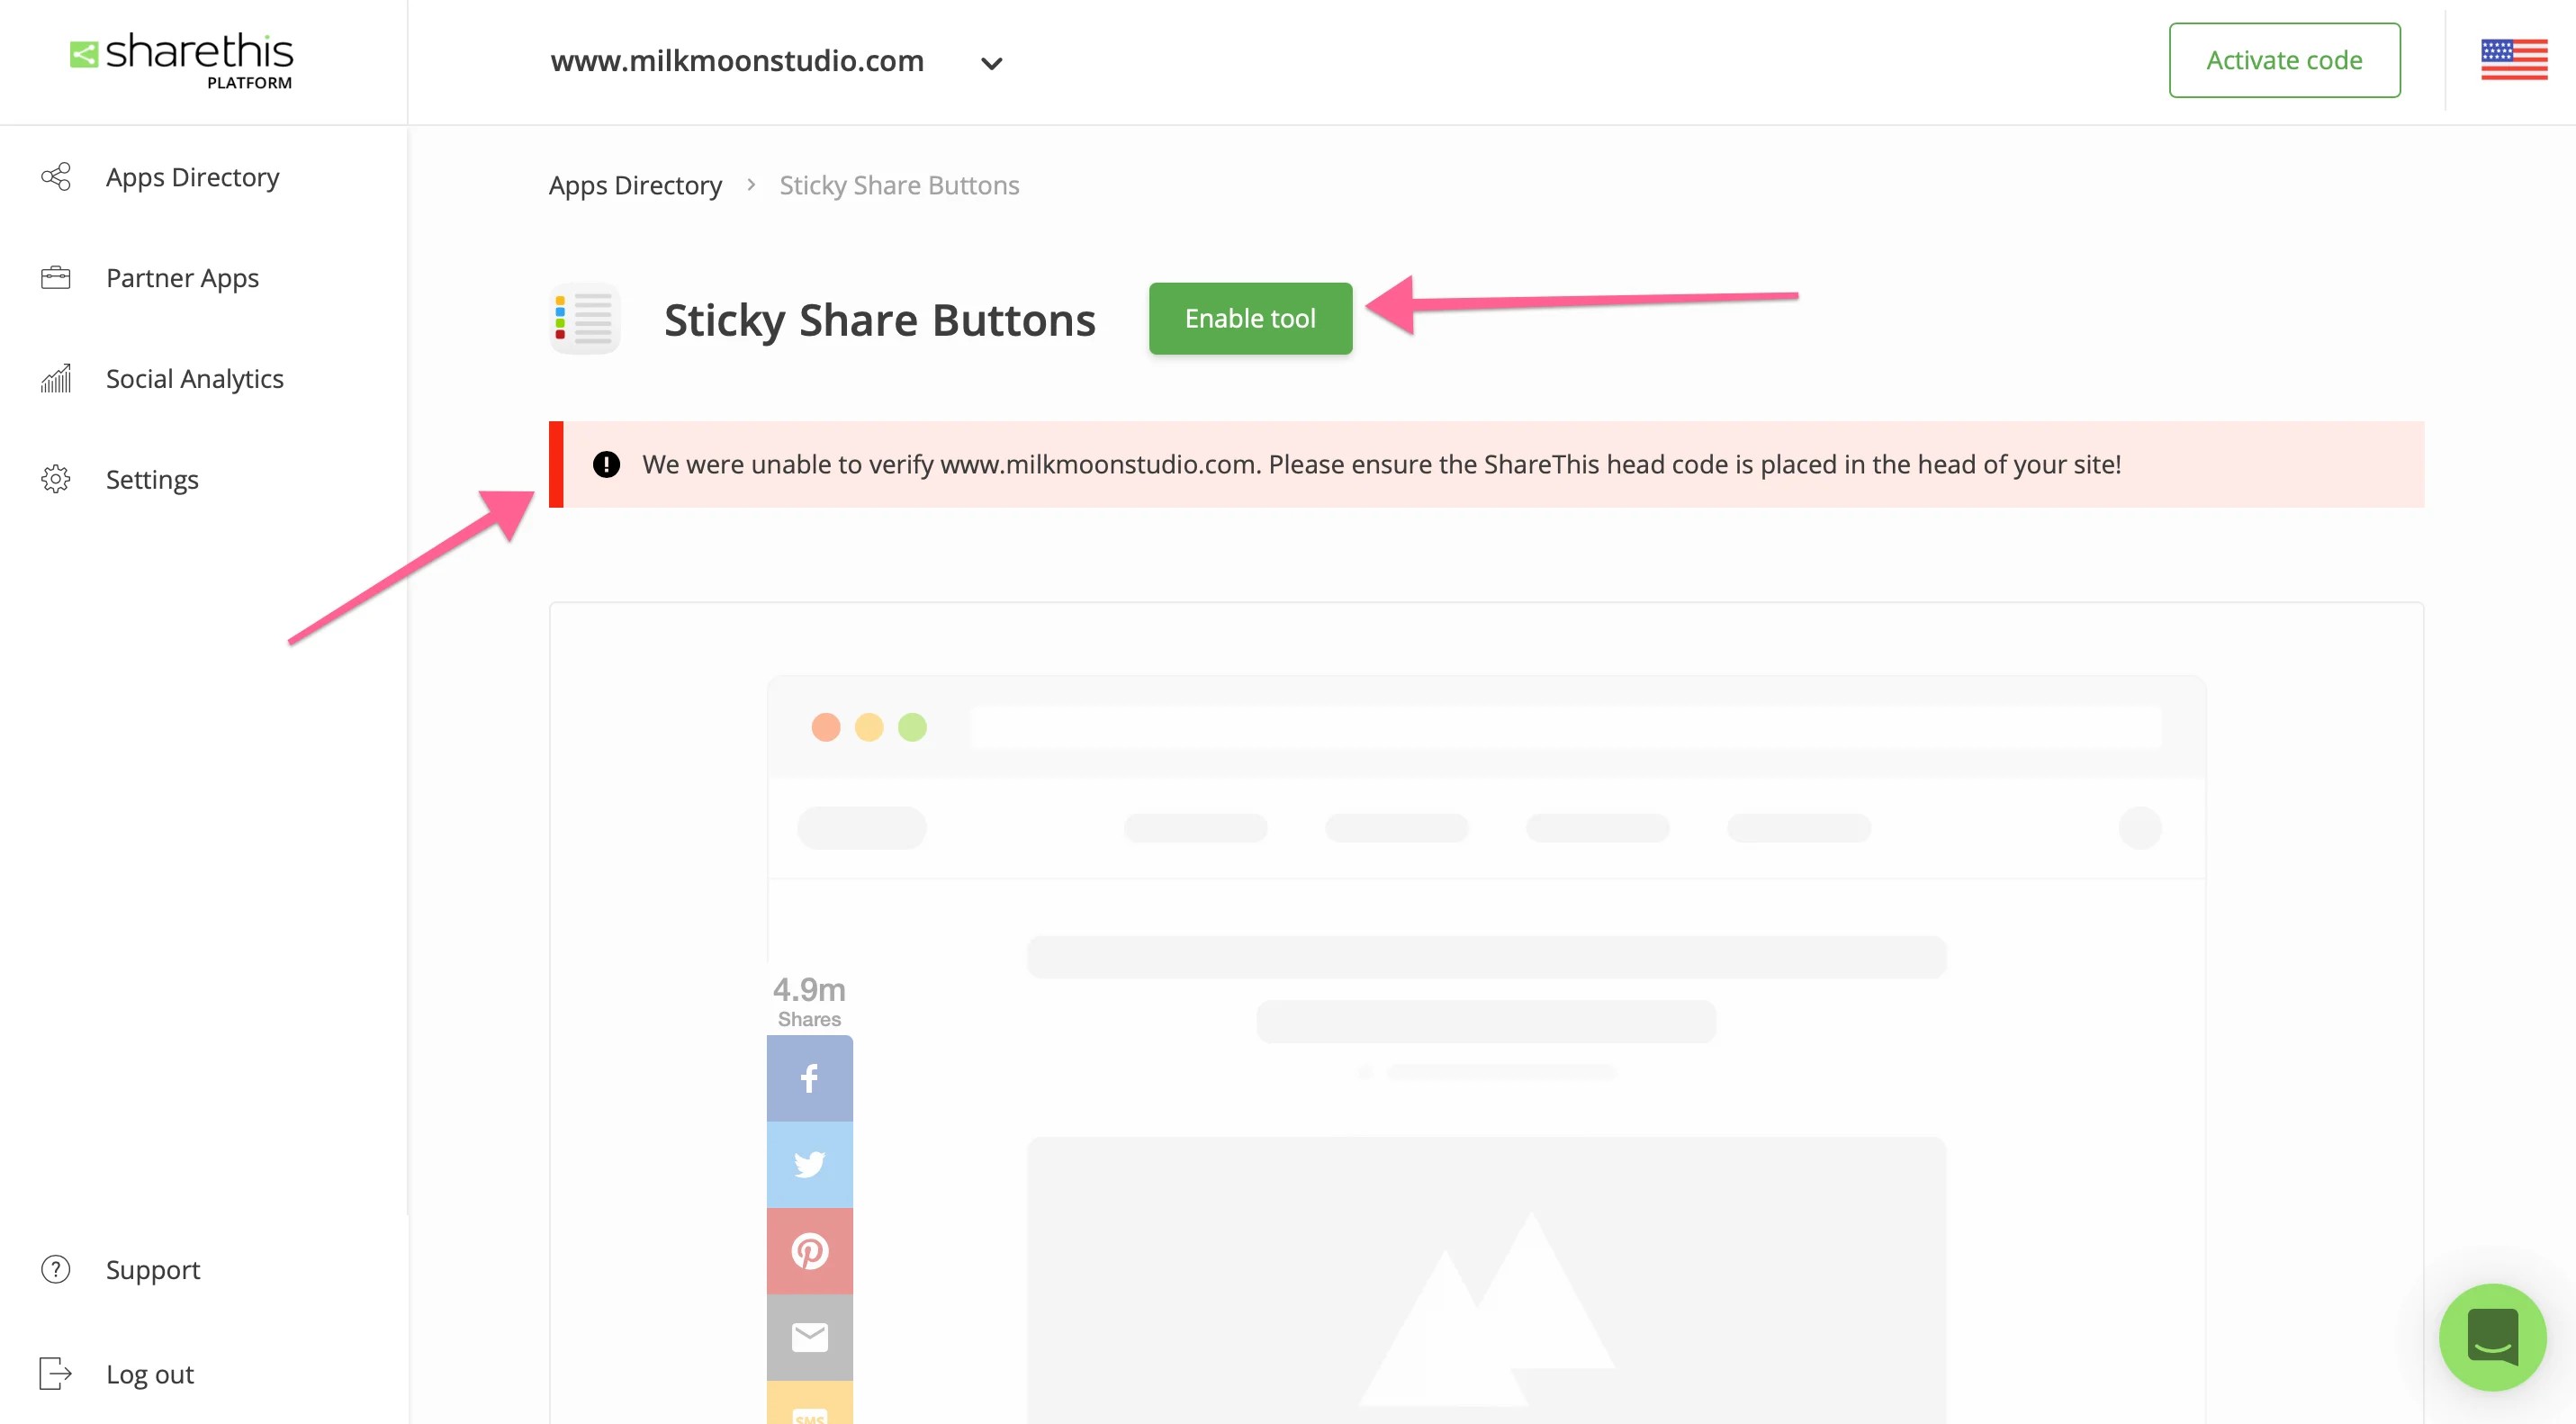
Hit Enable tool and if there's a warning just ignore that as well.
Choose your social networks, alignment and whatever else you want to customise and hit update.
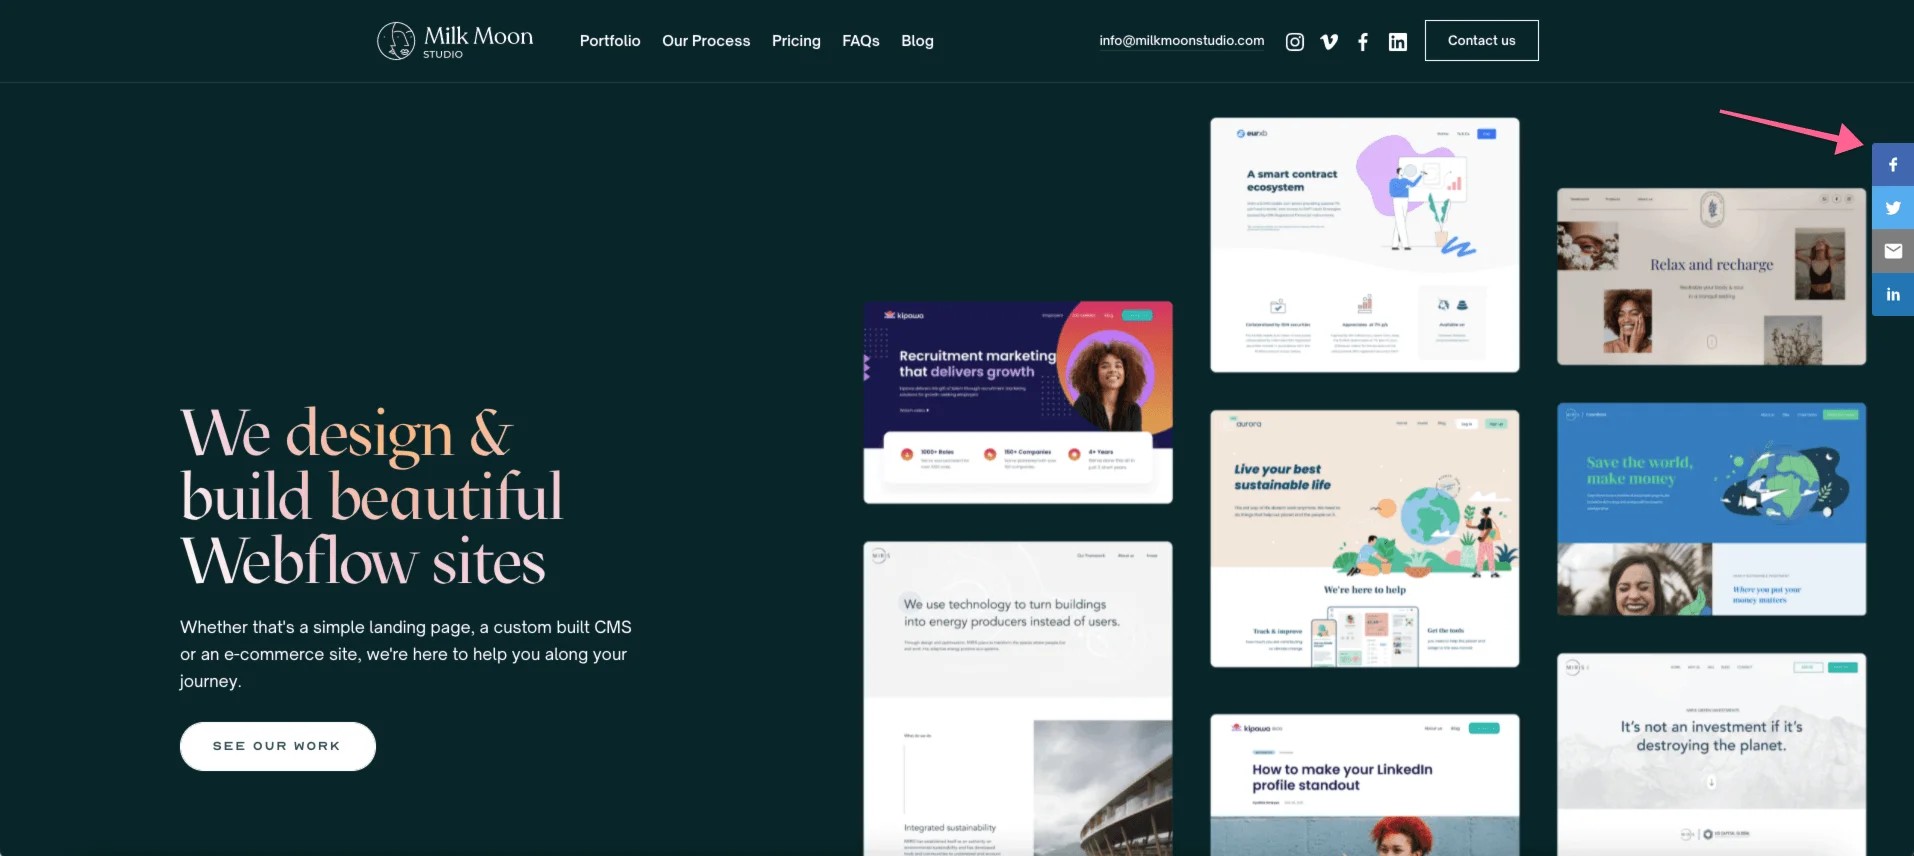
Give ShareThis a few minutes to do it's thing and you should see your share buttons:
This is all good and well, but wait you might say, you said on my blog and now it's all over my site.
Step 2 - Specify on which pages to show the share buttons
Let's make it show on only the blog post pages.
Open Tag Manager. If you're not going down the Fully Loaded Trigger path follow Step 1 A, if you're using the Fully Loaded Trigger use Step 1 B.
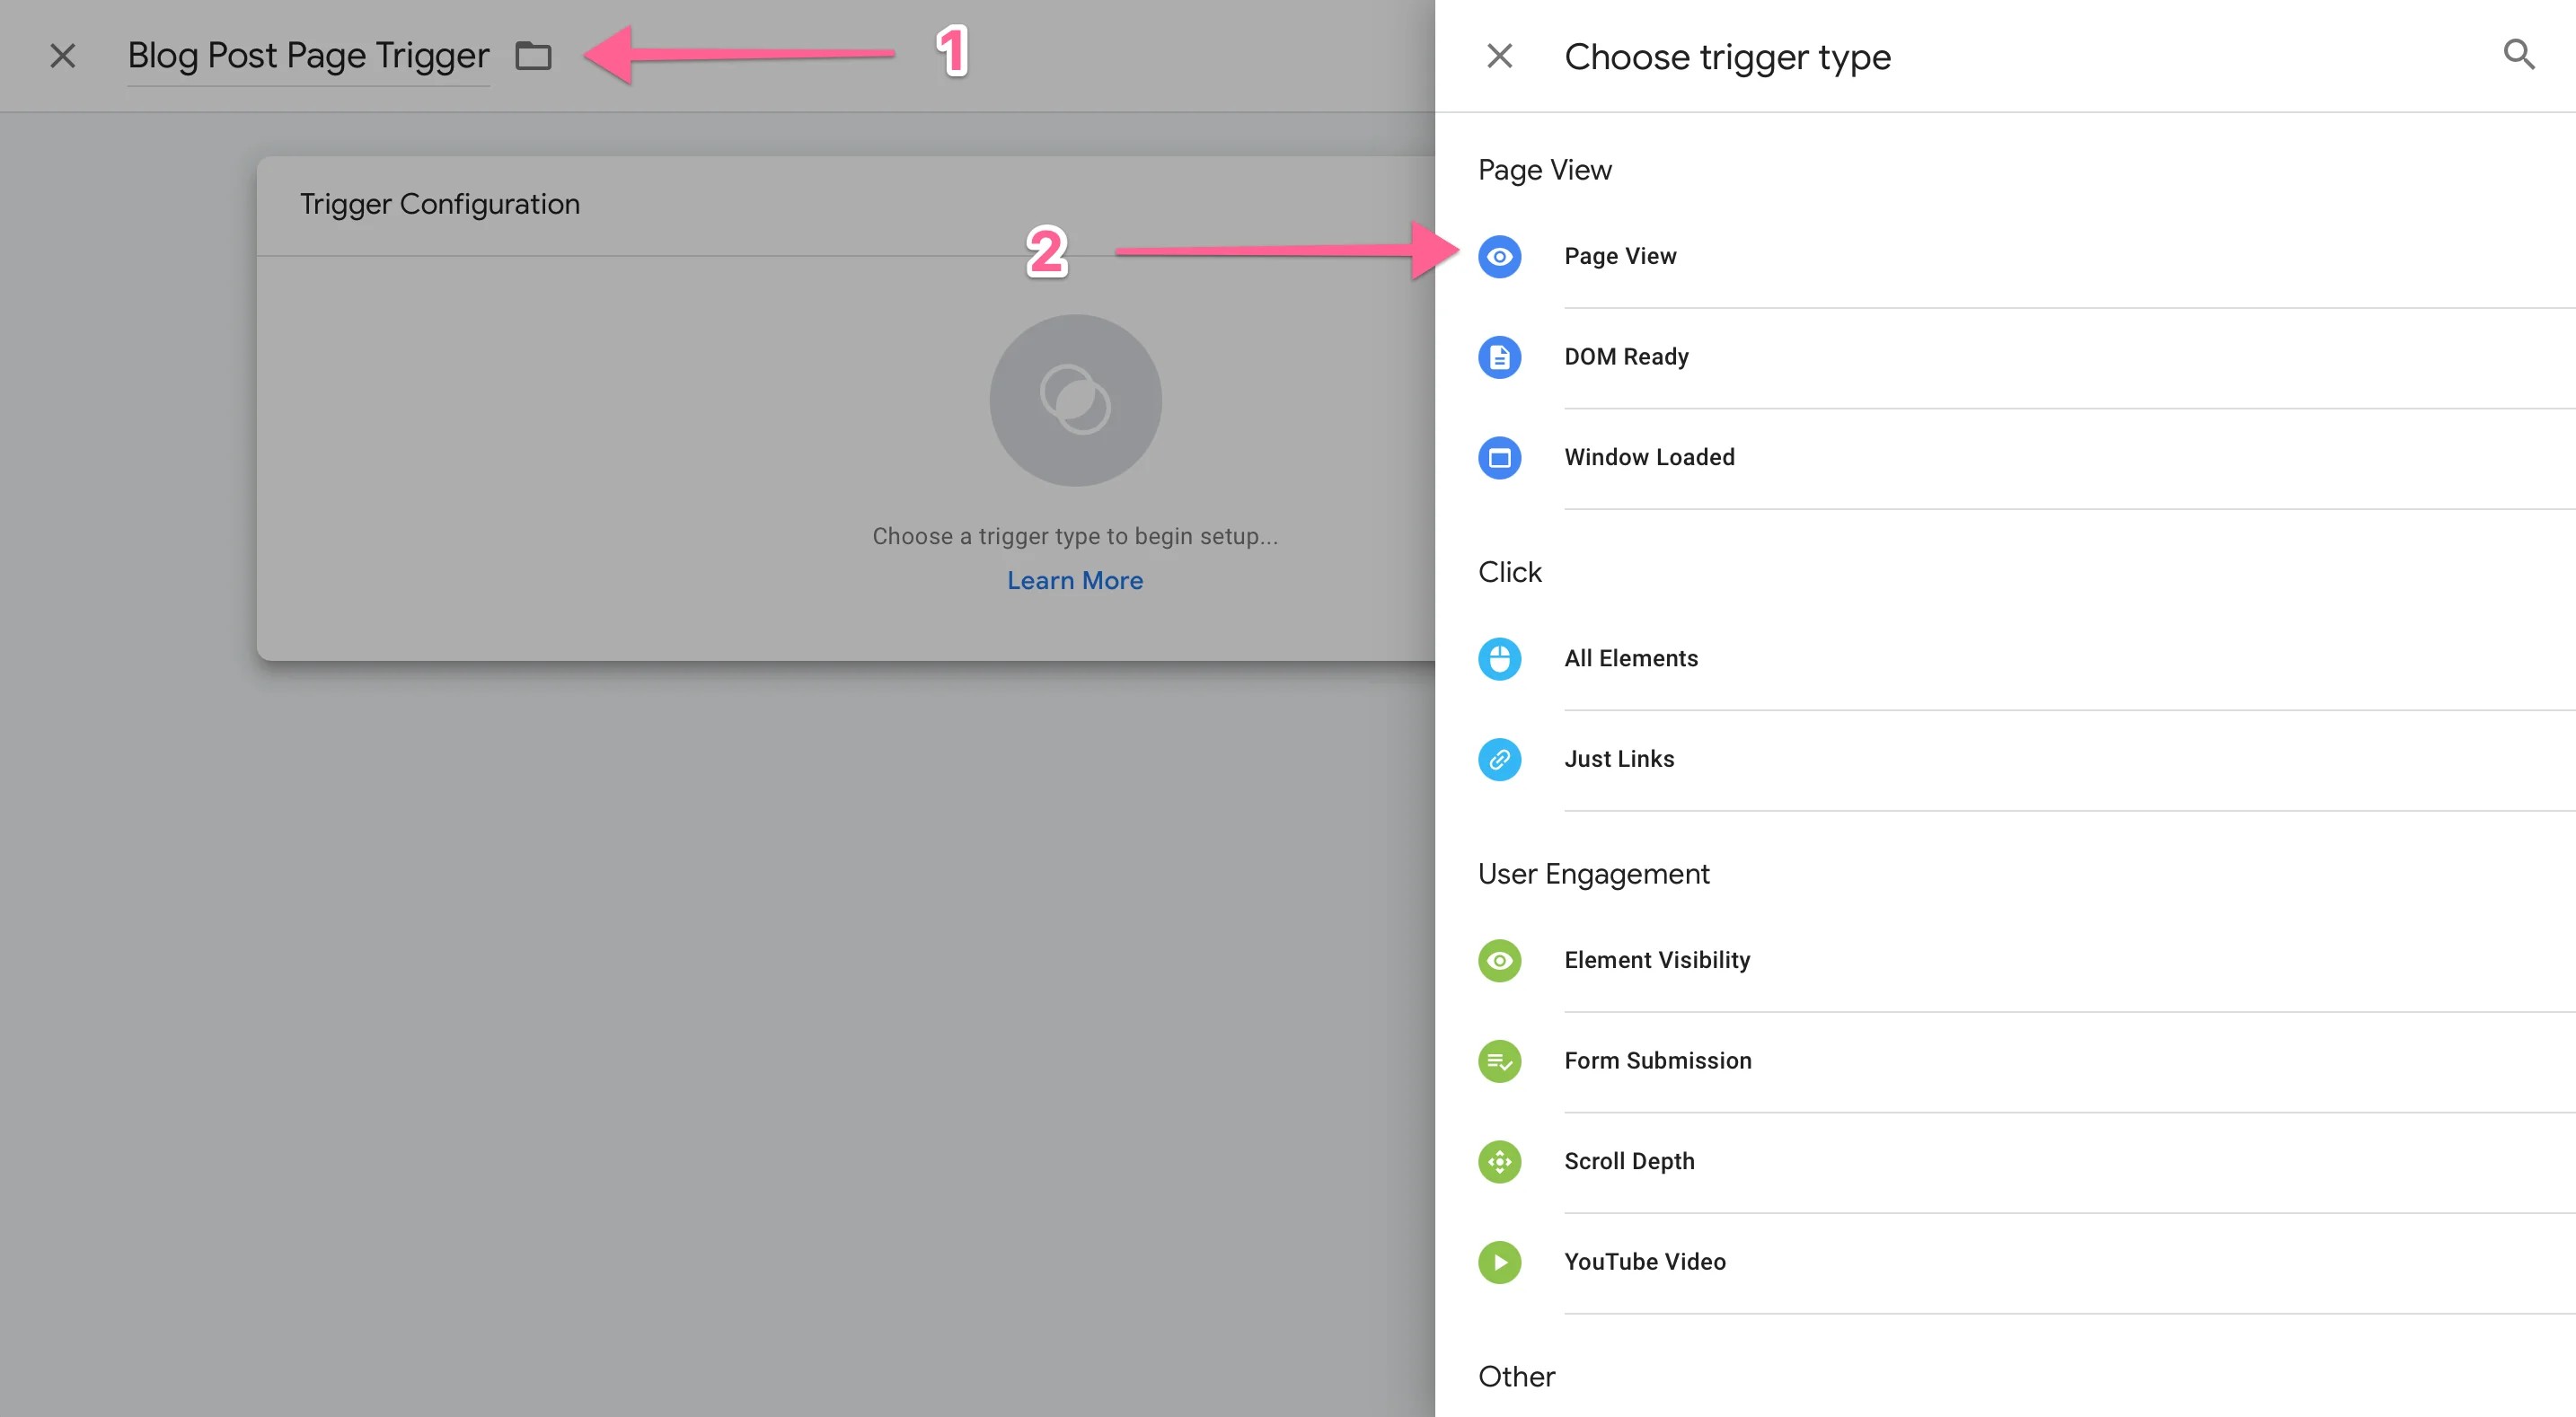
Step 1 A - Create a Blog Post Trigger.
Open the Tag, remove the trigger by hitting minus and create a new Trigger.
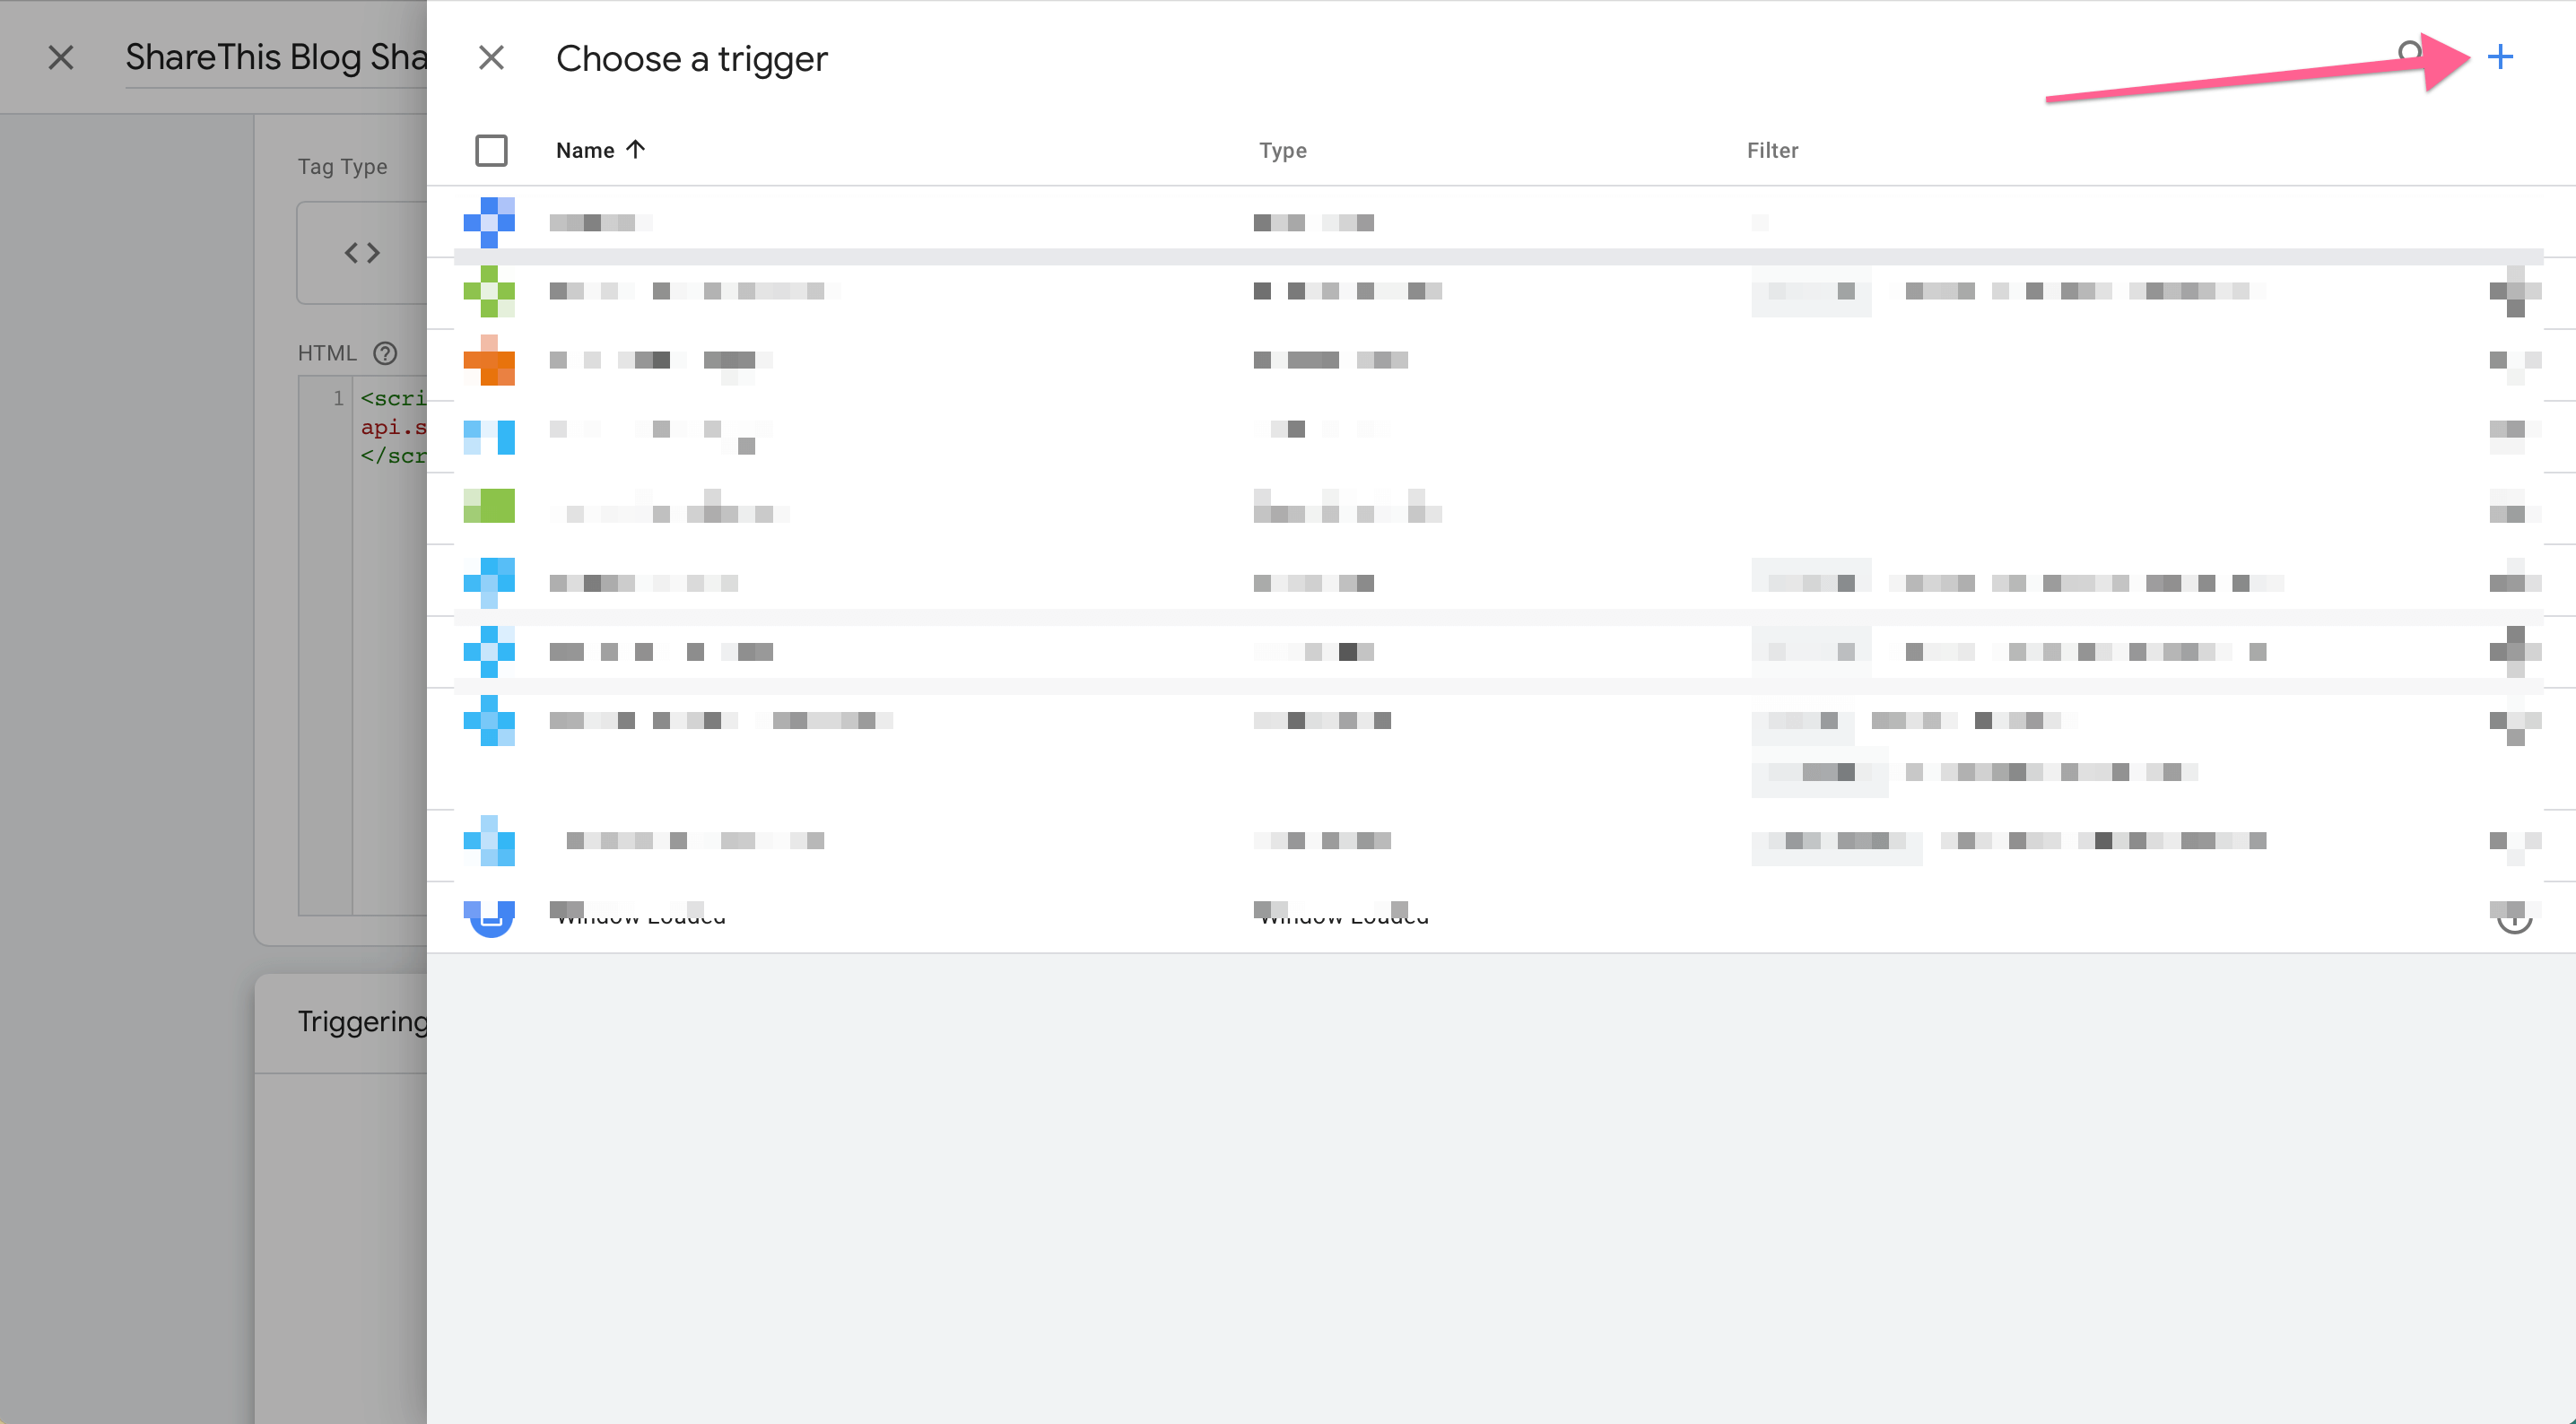
Give the Trigger a name and select Page View as the Trigger Type.
Before we continue, have a look at your blog post URL structure. Our posts sit the in the Post CMS collection and all post slugs start with /post/ as that the 'folder' for the blog collection.
<!-- fs-richtext-ignore -->https://www.milkmoonstudio.com/post/installing-free-behavioural-insights-using-google-tag-manager-and-microsoft-clarity
This makes things fairly simple for us, it means that all posts contain /post/ so we can create a trigger for that. You'll just use whatever structure you're using.
So, on the Trigger select, Some Page Views, then Page URL from the dropdown, then Contains, then the part of your blog slug you'll be using, for us that's /post/
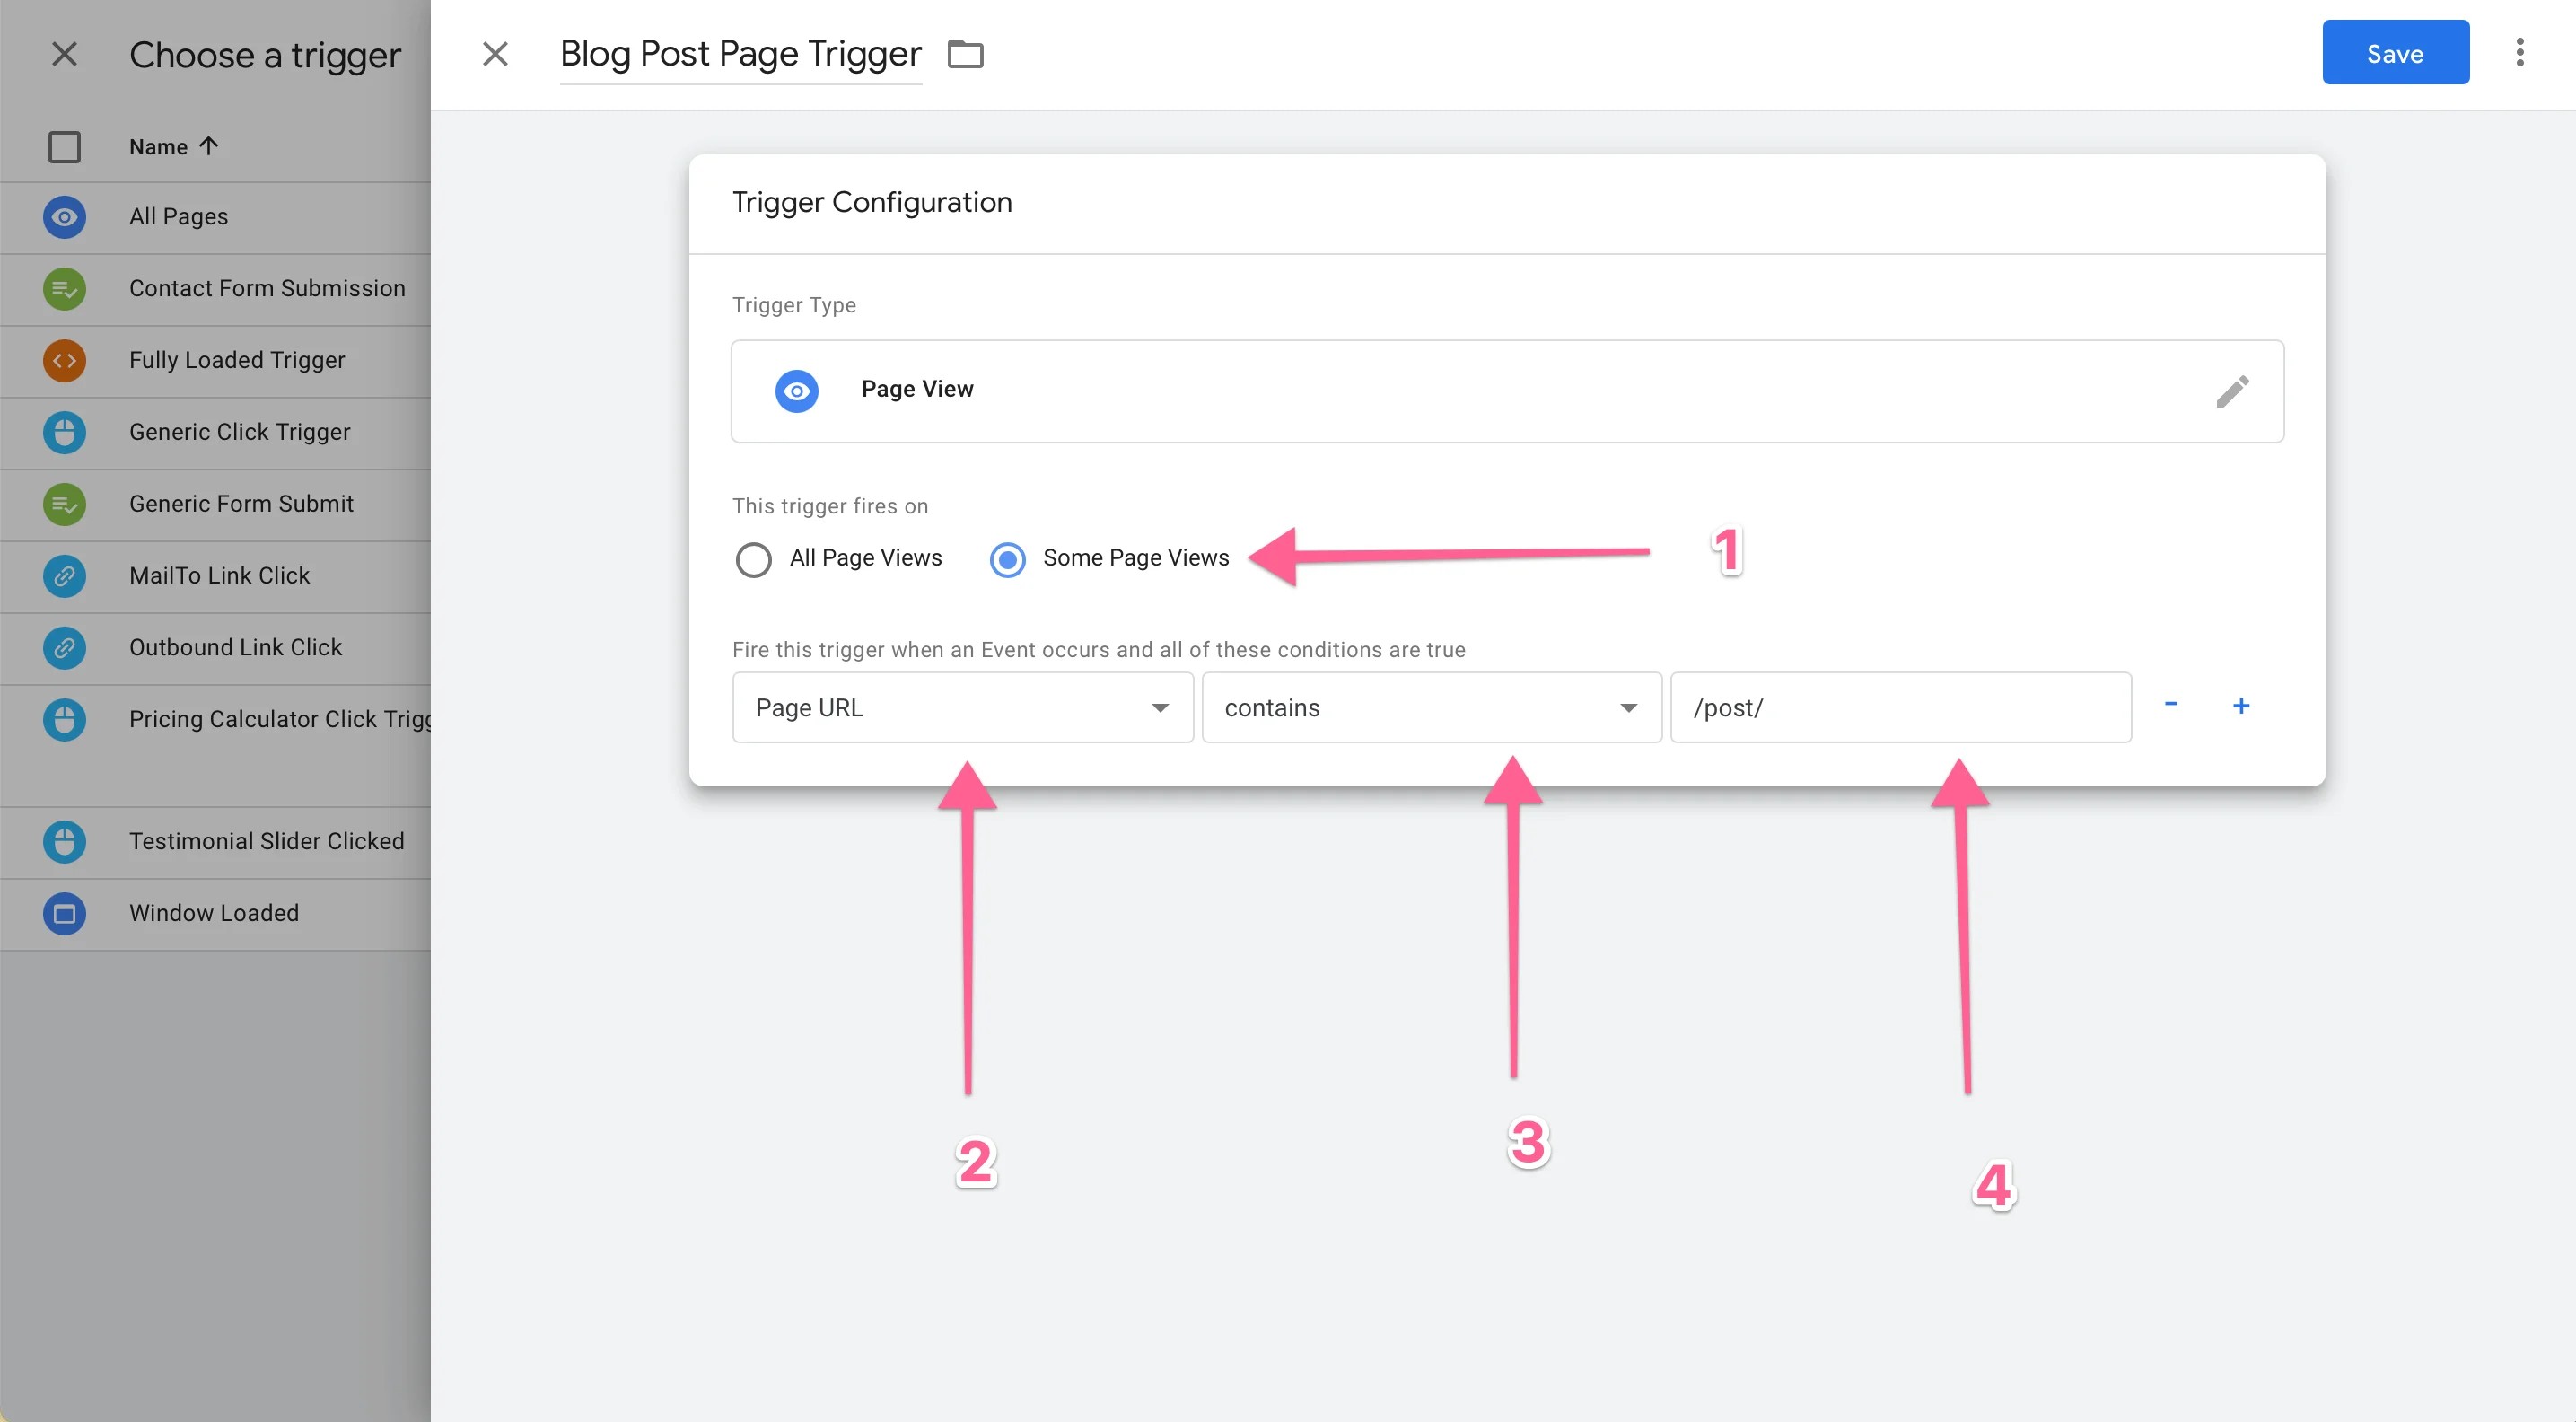
Make sure you've got the new Trigger selected and the old one removed. Save, Submit and Publish and you're good to go. But what's happening?
Well, every time Tag Manager sees a page view event it's going to only be looking for Some Pages, those pages will have a Page URL that Contains /post/ or whatever you used. If you'd like to load it on other pages as well, in our case we have it on our portfolio pages, just create more Triggers for those pages and add those to the Tag.
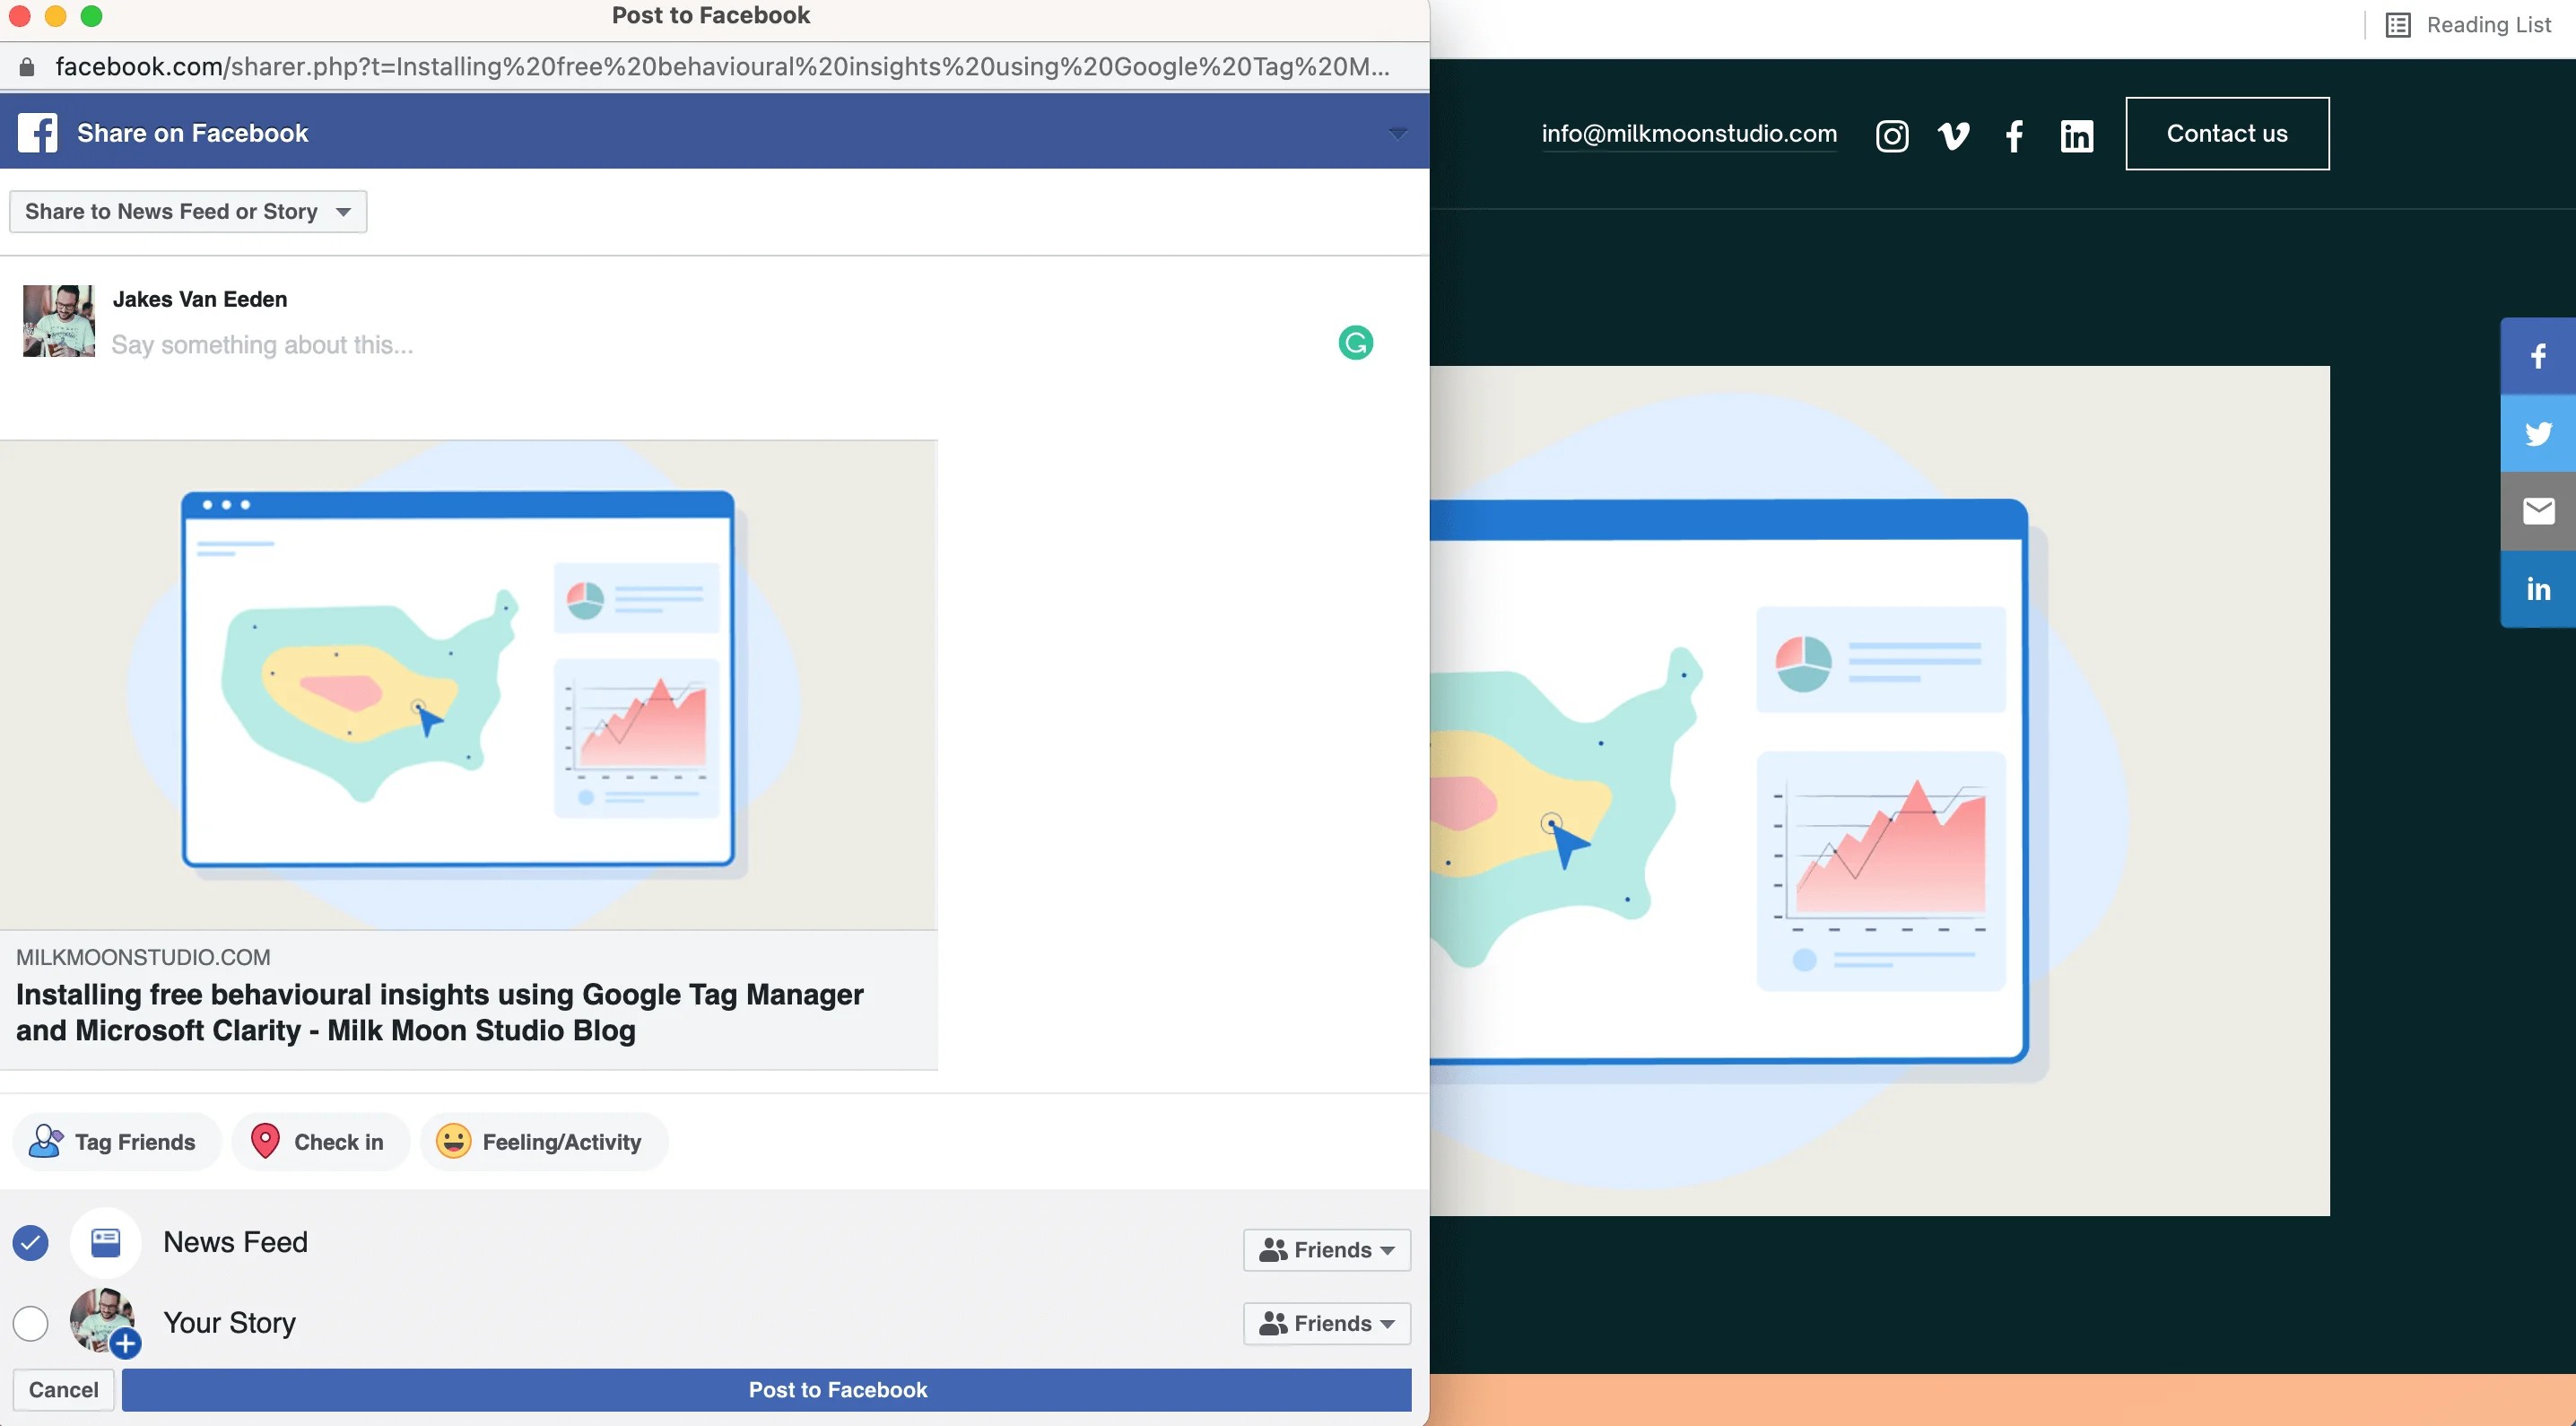
Now you'll have share buttons filled in using your site's OG Tags.
Step 1 B - Create a Fully Loaded Some Pages Trigger
If you went down the Fully Loaded Trigger path you're going to do the following.
Look at your blog post URL structure. Our posts sit the in the Post CMS collection and all post slugs start with /post/ as that's our blog folder.
<!-- fs-richtext-ignore -->https://www.milkmoonstudio.com/post/installing-free-behavioural-insights-using-google-tag-manager-and-microsoft-clarity
This makes things fairly simple for us, it means that all posts contain /post/ so we can create a trigger for that. You'll just use whatever structure you're using.
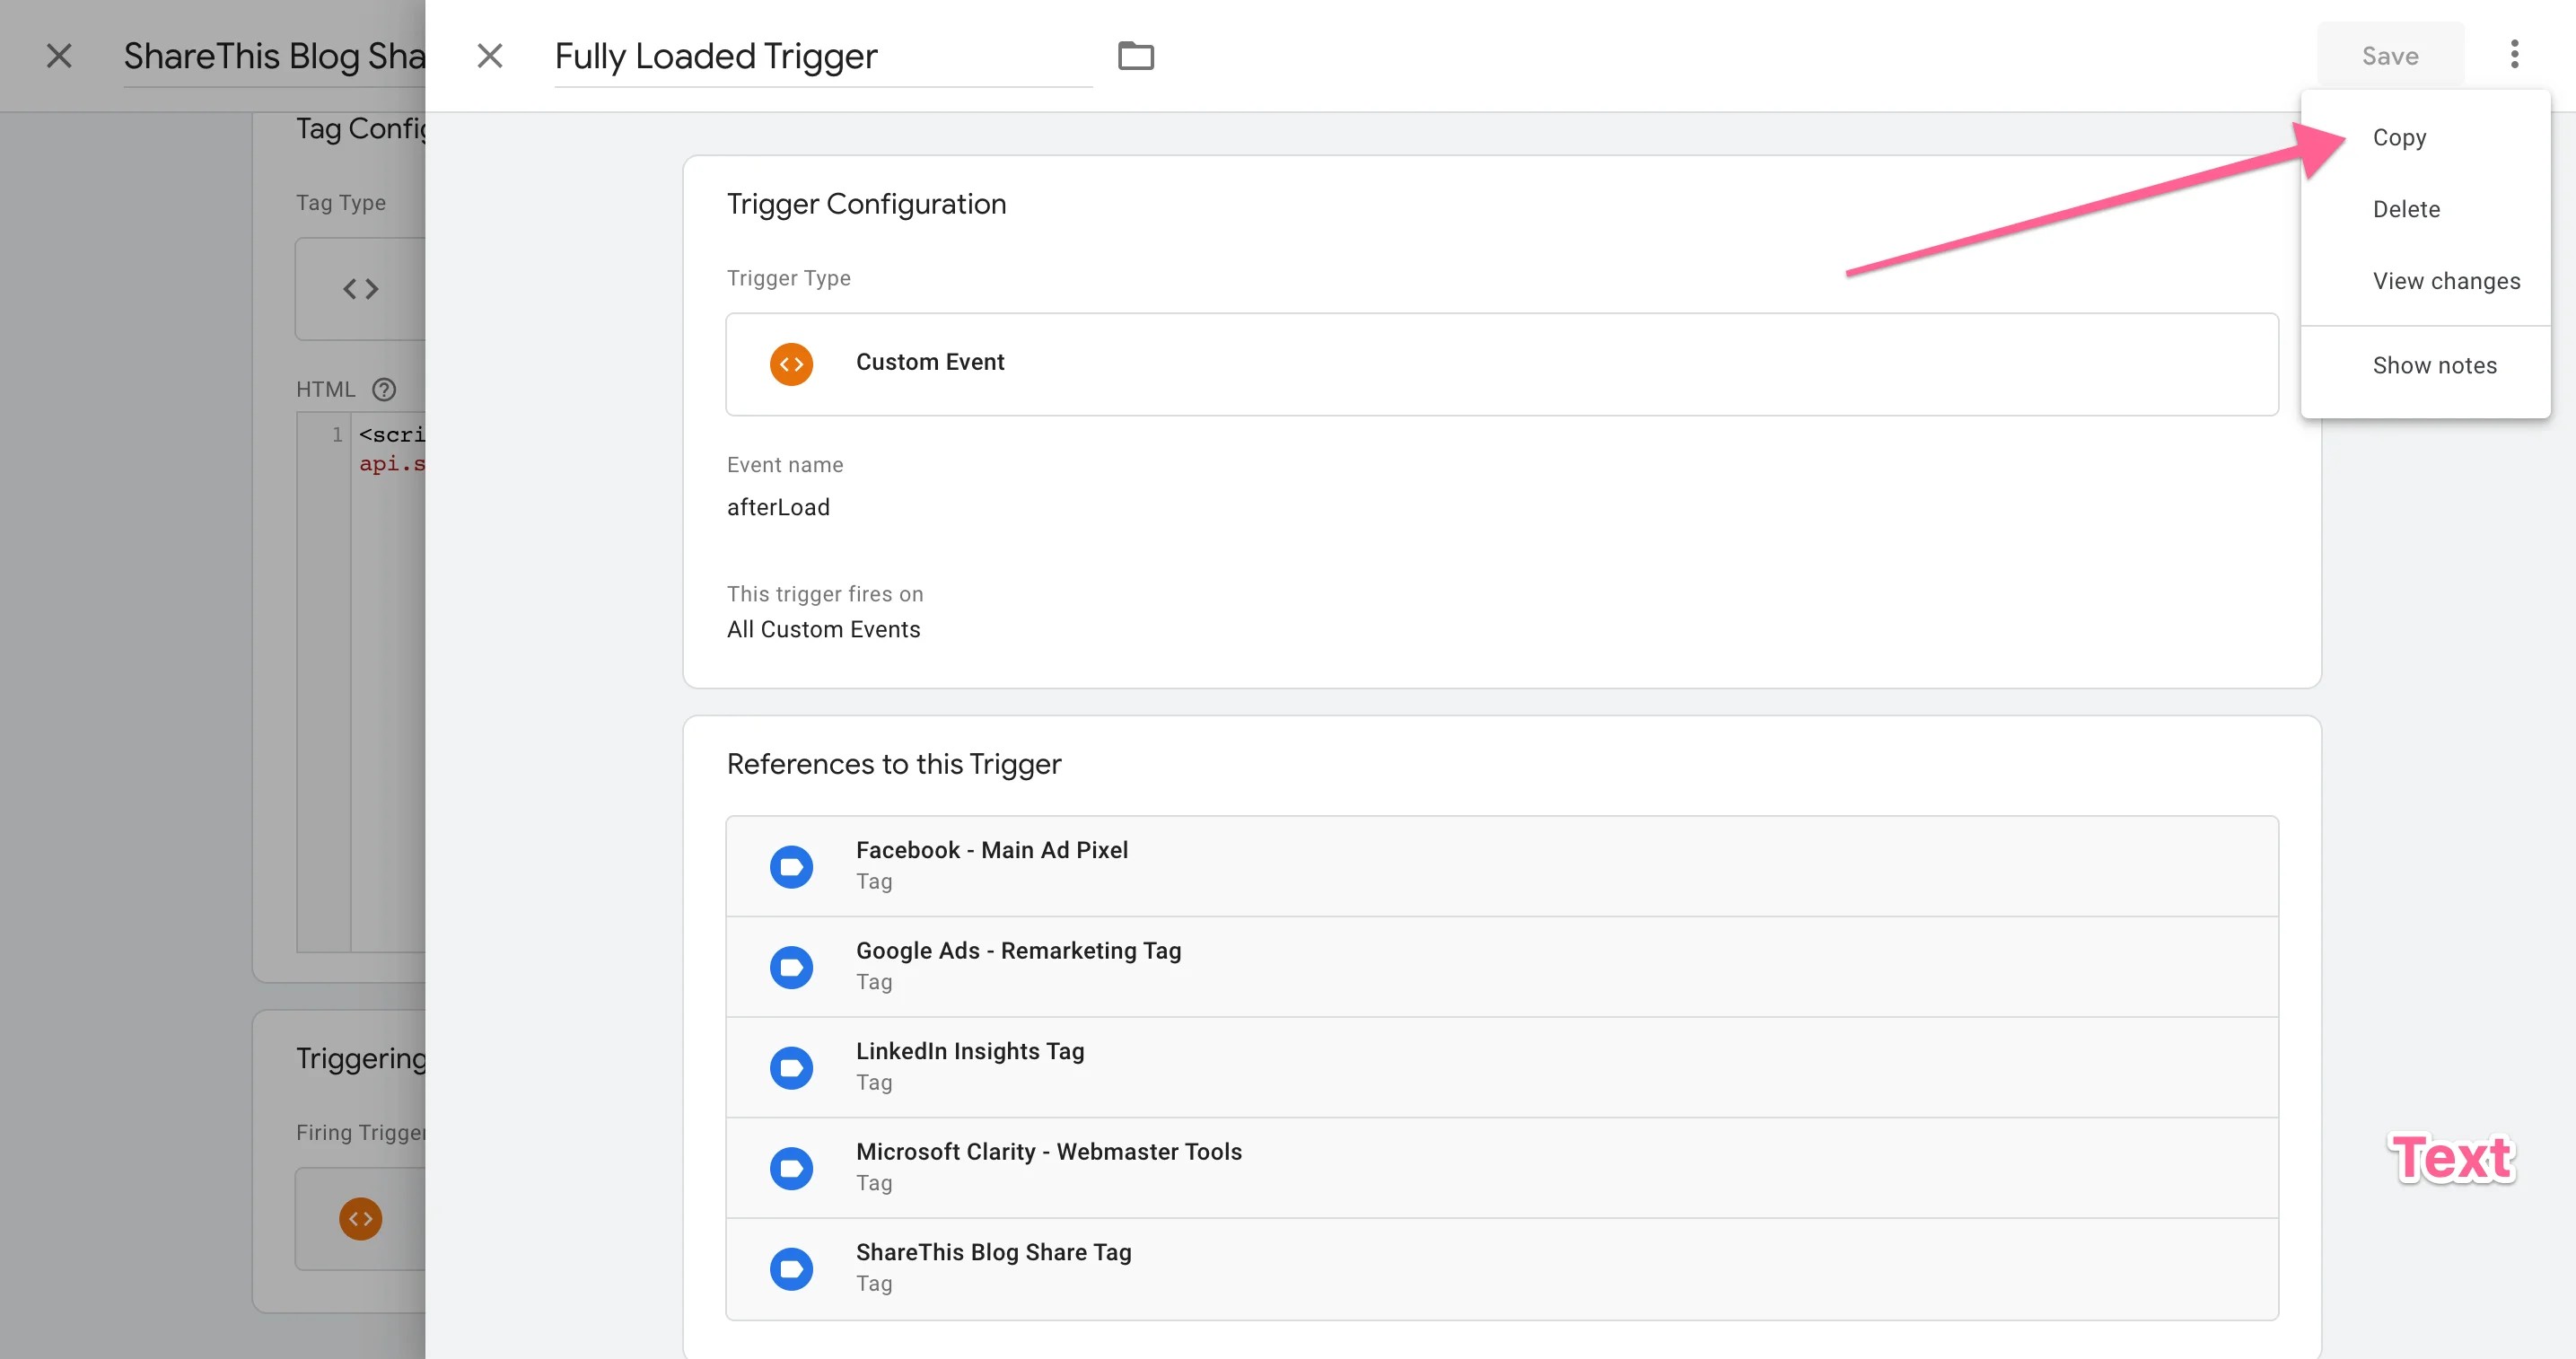
Click on the Fully Loaded Trigger, now make a copy.
Name your Trigger, select Some Custom Events, then Page URL from the Dropdown, then Contains and fill in the bit of your URL you'll be using, /post/ for us.
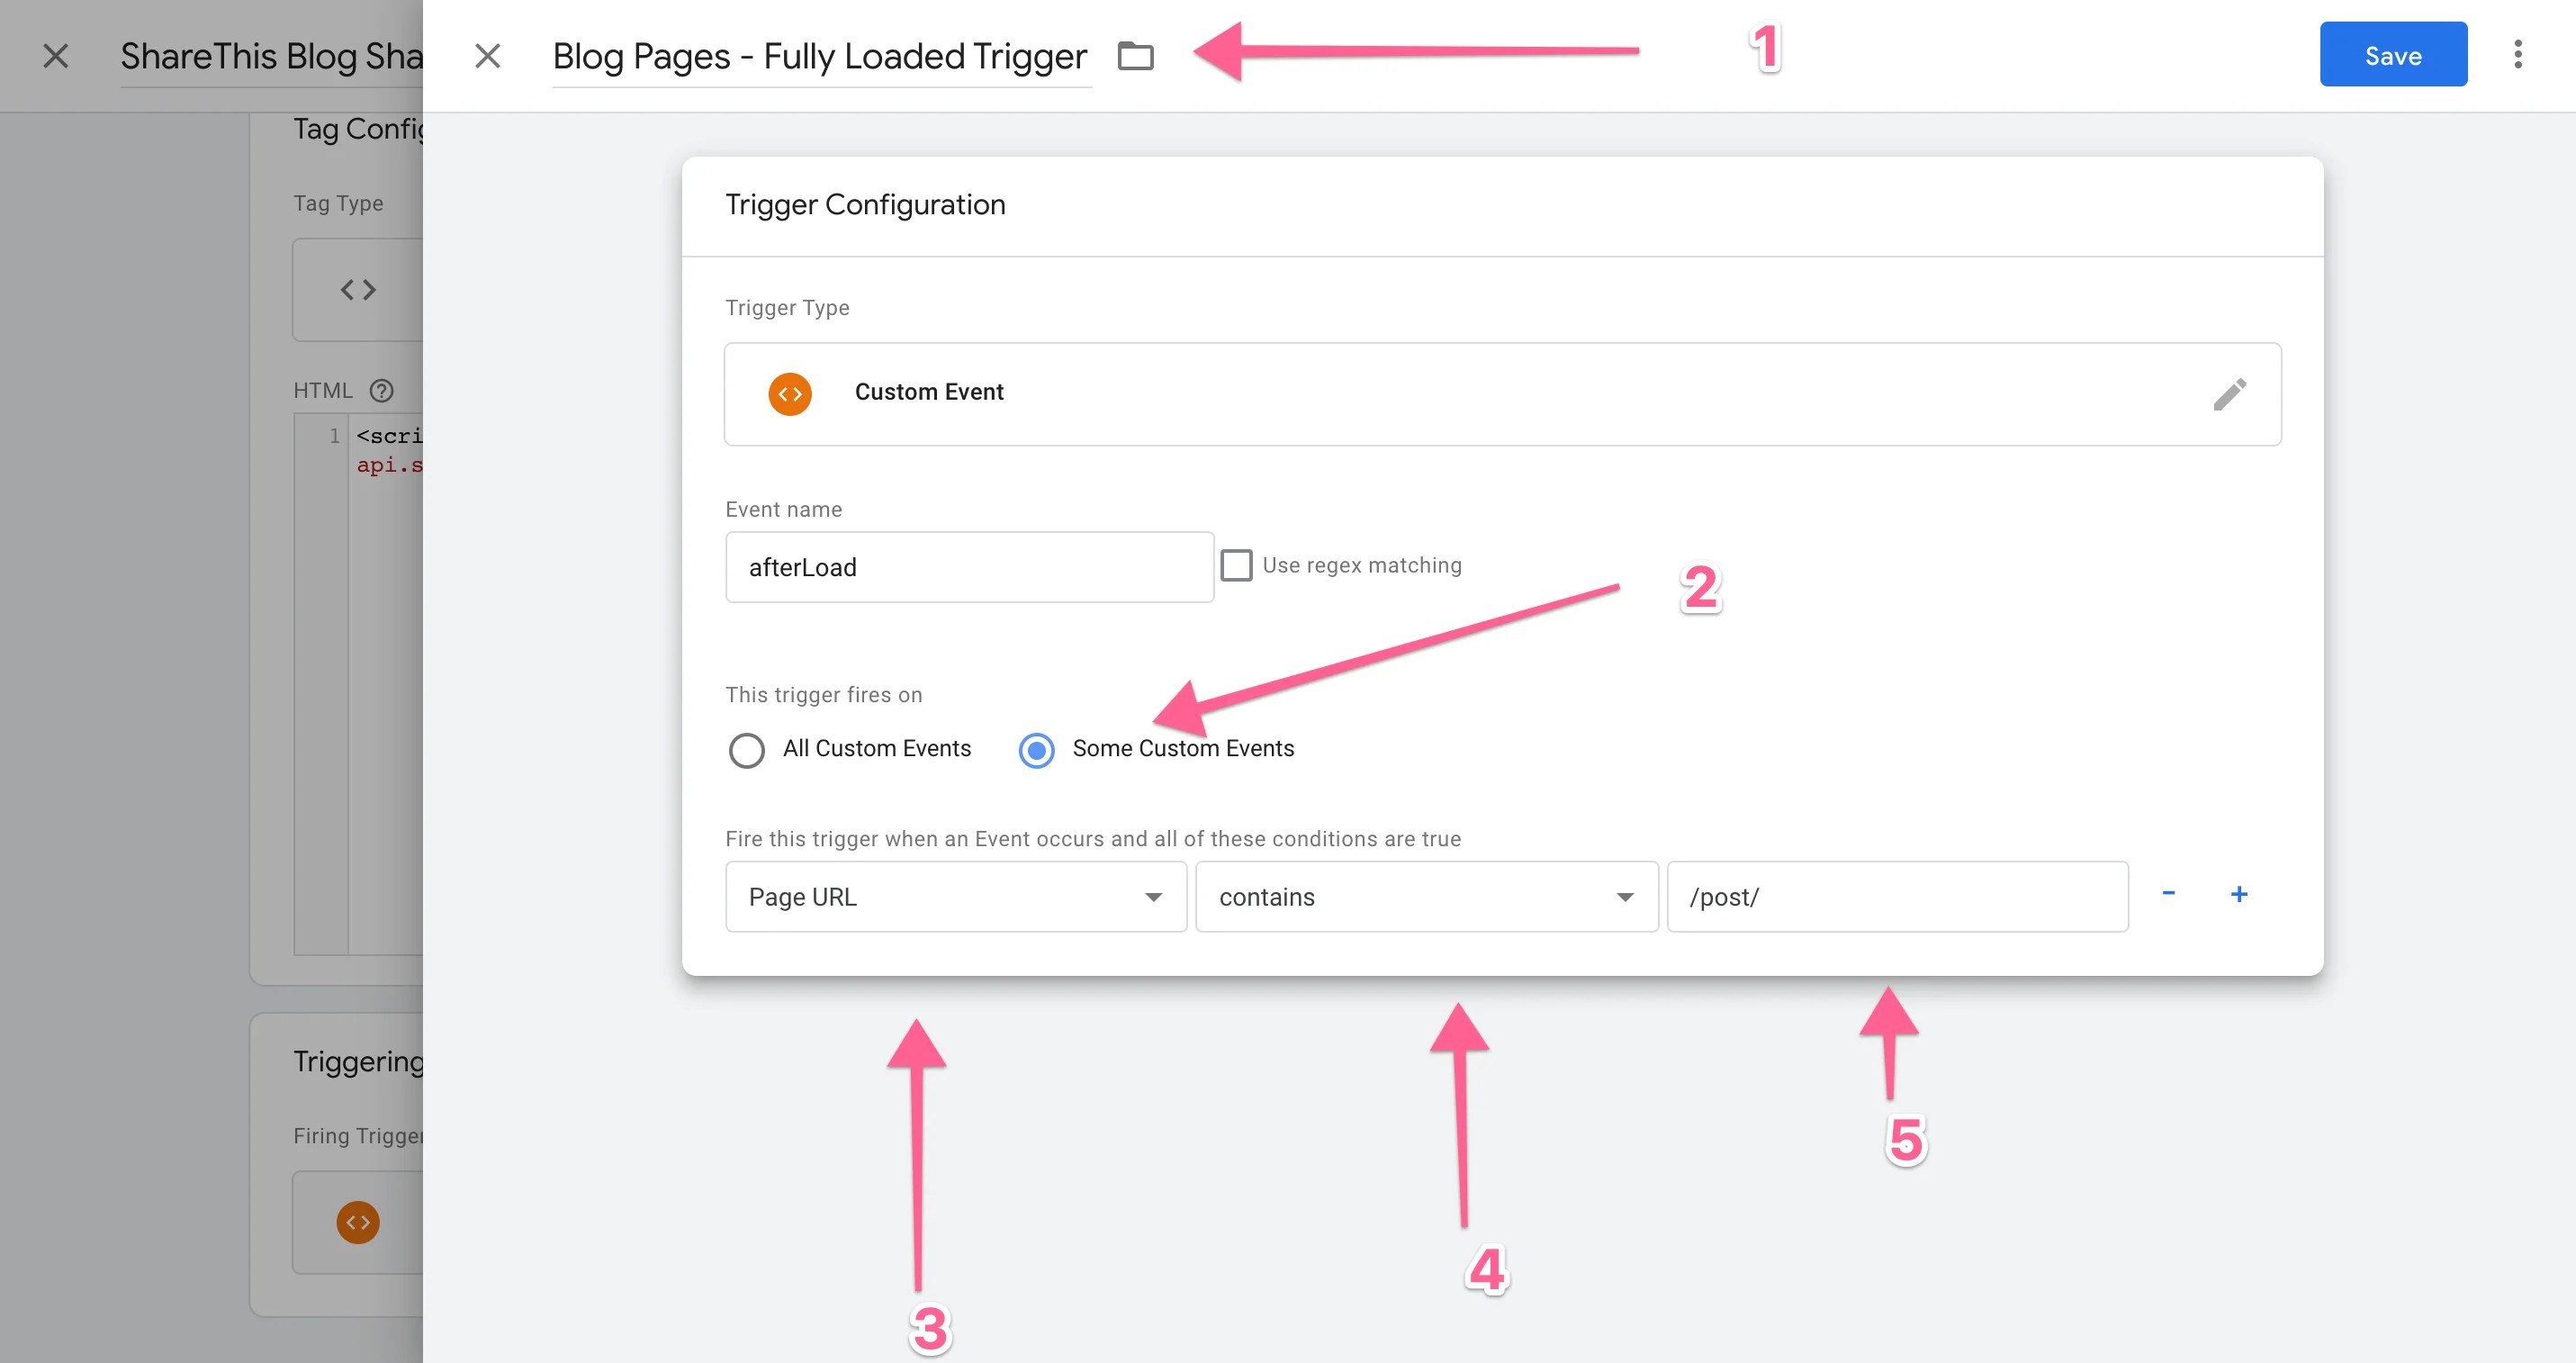
Save the Trigger, remove the old Trigger and add your new Blog Trigger, Save, Submit and Publish.
And you're done. But what's happening? Every time your new Fully Loaded Blog Trigger fires Tag Manager is looking for the custom event, but only on pages where the URL Contains /post/ in our case. As a bonus, it's waiting for everything else to load first! If you'd like to load it on other pages as well, in our case we have it on our portfolio pages, just create more Triggers for those pages and add those to the Tag.
Now you'll have share buttons filled in using your site's OG Tags.

Have questions, hit us up in the comments and check out more how-tos here.